
If you’re an owner of an electric scooter and wondering about the possibility of replacing its battery, you’ll be pleased to know that it is indeed a DIY task! In this article, we’ll explore the world of electric scooters and guide you through the process of replacing their batteries, providing you with all the information you need to embark on this practical and cost-effective adventure. Get ready to gain the necessary knowledge and confidence to tackle this task successfully and breathe new life into your trusty two-wheeler. Let’s get started!
Battery Replacement for Electric Scooters
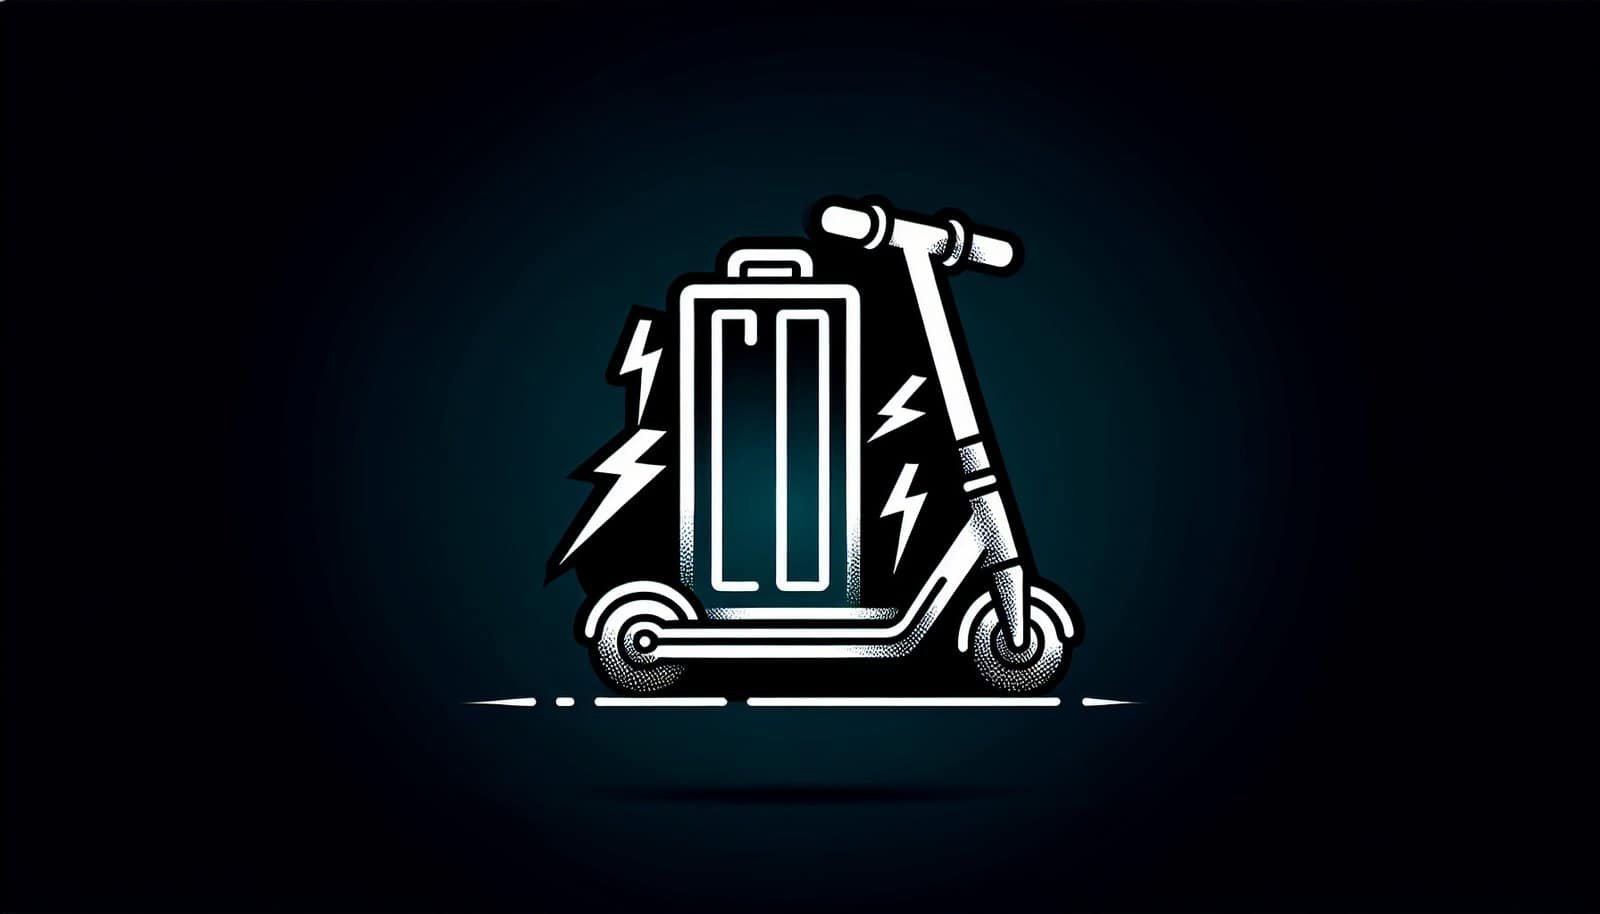
Understanding the Battery in Electric Scooters
When it comes to electric scooters, the battery is an essential component that powers the vehicle. Understanding the battery and its lifespan is crucial to the maintenance and longevity of your scooter. Electric scooter batteries are typically rechargeable and can vary in size, capacity, and type. Most electric scooters use lithium-ion batteries, as they offer a high energy density and longer lifespan compared to other battery types. It’s important to familiarize yourself with the specifications and requirements of your specific scooter model to ensure you choose the right replacement battery when the time comes.
When to Replace the Battery
One common question among electric scooter owners is, “When should I replace the battery?” The lifespan of an electric scooter battery can vary depending on several factors, including usage, charging habits, and overall maintenance. On average, a high-quality electric scooter battery can last anywhere from 1 to 3 years. However, as the battery ages, its capacity to hold a charge diminishes, resulting in a decreased range and performance. If you notice a significant decrease in your scooter’s range or have difficulty maintaining a charge, it may be time to consider replacing the battery. Additionally, if you experience any issues such as swelling or leakage from the battery, it is crucial to replace it immediately for safety reasons.
DIY vs Professional Battery Replacement
Now that you’ve realized it’s time to replace your electric scooter battery, the next decision you need to make is whether to take on the task yourself or seek professional help. Both options have their pros and cons, so it’s important to weigh them carefully before making a decision.
Tools and Equipment Needed for Battery Replacement
If you decide to take on the challenge of replacing the battery yourself, there are a few tools and equipment you’ll need to gather beforehand. These include basic tools such as screwdrivers, pliers, and wrenches to remove the battery compartment and secure the new battery. Additionally, battery testing equipment is crucial to ensure the new battery is functioning correctly before putting it to use. Taking the time to gather all the necessary tools and equipment will help streamline the battery replacement process and ensure a successful outcome.
Steps to Replace the Battery: A DIY Guide
Replacing the battery in your electric scooter can be a straightforward process if you follow a step-by-step guide. While the specific steps may vary slightly depending on your scooter model, the following general guide will give you a good understanding of the process:
Step 1: Safety Precautions
Before starting any DIY project, it’s important to prioritize your safety. When replacing the battery in your electric scooter, make sure to wear appropriate protective gear, including gloves and safety glasses. These items will protect you from any potential hazards while working with electronic components.
Step 2: Removing the Old Battery
To remove the old battery, you’ll need to locate the battery compartment in your scooter. This is typically located under the footrest or seat. Use the proper tools to unscrew any fastenings and disconnect the wires attached to the battery. Take note of how the wires are connected as this will be important when installing the new battery.
Step 3: Choosing a Suitable Replacement Battery
Selecting the right replacement battery for your scooter is crucial for optimal performance. Consider factors such as battery type, voltage, capacity, size, compatibility, quality, and brand reputation. Research different battery options and consult your scooter’s manual or manufacturer for specific battery recommendations.
Step 4: Installing the New Battery
With the old battery removed and a suitable replacement in hand, it’s time to install the new battery. Position the new battery correctly in the battery compartment, ensuring proper alignment with the battery terminals. Connect the wires to the new battery following the same configuration as the previous battery. Secure the battery in place using the appropriate fastenings.
Step 5: Testing the New Battery
Once the new battery is securely installed, it’s essential to test its functionality before taking your scooter for a ride. Use battery testing equipment to ensure the voltage and capacity are within the recommended range. If everything checks out, congratulations! You have successfully replaced the battery in your electric scooter.
Factors to Consider when Choosing a Replacement Battery
When it comes to choosing a replacement battery for your electric scooter, several factors should be taken into consideration. By considering these factors, you can ensure that the replacement battery meets the necessary requirements and provides optimal performance for your scooter.
Battery Type
The type of battery is a crucial factor to consider when choosing a replacement for your electric scooter. Lithium-ion batteries are the most common choice due to their high energy density and longer lifespan. However, there are other options available, such as lead-acid batteries, which may be suitable for certain scooter models.
Voltage and Capacity
Matching the voltage and capacity of the replacement battery to the original battery is essential. The voltage should be the same as the original battery to ensure compatibility with the scooter’s electrical system. Capacity refers to the amount of energy the battery can store, affecting the range and performance of your electric scooter.
Size and Compatibility
The physical size of the replacement battery must fit within the scooter’s battery compartment. Additionally, it’s important to ensure that the battery is compatible with the scooter’s electrical connections and wiring.
Quality and Brand Reputation
Investing in a high-quality replacement battery is crucial for long-term reliability and performance. Consider purchasing batteries from reputable brands known for their quality and reliability. Reading customer reviews and seeking recommendations can help you make an informed decision.
Warranty and Customer Support
Before making a final decision, check for any warranty provided by the battery manufacturer. A warranty ensures that you have recourse in case of any defects or issues with the battery. Additionally, good customer support can provide assistance and guidance throughout the battery replacement process.

DIY Battery Replacement vs Professional Service
Choosing between DIY battery replacement and seeking professional service is an important decision to make. Let’s explore the pros and cons of each option.
Pros of DIY Battery Replacement
- Cost-saving: Performing the battery replacement yourself eliminates labor costs associated with professional service.
- Learning experience: Undertaking a DIY project can provide valuable knowledge and skills in maintaining your electric scooter.
- Convenience: You have control over the timing and location of the battery replacement, allowing you to fit it into your schedule.
Cons of DIY Battery Replacement
- Lack of expertise: If you’re unfamiliar with electrical systems and battery installation, there may be a higher risk of errors or improper installation.
- Safety concerns: Working with batteries involves potential hazards that can cause injury if not handled properly.
- Limited resources: You may not have access to specialized tools and equipment that professionals have, which may affect the quality of the battery replacement.
Pros of Professional Battery Replacement
- Expertise and experience: Professional technicians have the knowledge and skills to safely replace the battery and ensure proper installation.
- Specialized tools and equipment: Professionals have access to tools and equipment specifically designed for battery replacement, resulting in a more efficient and accurate process.
- Warranty and guarantees: Many professional services offer warranties and guarantees on their work, providing peace of mind and protection against any potential issues.
Cons of Professional Battery Replacement
- Cost: Professional battery replacement services come with a cost, which may be higher than the cost of purchasing a battery and doing it yourself.
- Scheduling constraints: You may need to coordinate with the service provider to find a convenient time for the battery replacement, which may cause delays.
Tools and Equipment for Battery Replacement
Whether you choose to replace the battery yourself or seek professional help, having the right tools and equipment is essential. Here are some basic tools and battery testing equipment you may need:
Basic Tools
- Screwdrivers: Different sizes and types of screwdrivers will be required to remove screws and fastenings.
- Pliers: Useful for gripping and manipulating wires and terminals.
- Wrenches: Depending on the battery compartment design, you may need wrenches to loosen and tighten fastenings.
Battery Testing Equipment
- Voltmeter: Used to measure voltage and ensure the battery’s proper functioning.
- Battery load tester: Enables you to assess the capacity and health of the battery reliably.

Step-by-Step Guide for Replacing the Battery
Here’s an in-depth guide for replacing the battery in your electric scooter:
Safety Precautions
Before starting any work, prioritize safety. Wear protective gear such as gloves and safety glasses to protect your hands and eyes from potential hazards.
Removing the Old Battery
Locate the battery compartment in your scooter, typically found under the footrest or seat. Use the appropriate tools to remove any screws or fastenings and disconnect the wires attached to the battery. Take note of the wiring configuration for future reference.
Choosing a Suitable Replacement Battery
Consider factors such as battery type, voltage, capacity, size, compatibility, quality, and brand reputation. Research different battery options and consult your scooter’s manual or manufacturer for specific battery recommendations.
Installing the New Battery
Position the new battery correctly in the battery compartment, ensuring alignment with the battery terminals. Connect the wires following the same configuration as the previous battery. Secure the battery with the appropriate fastenings, making sure it is snug and secure.
Testing the New Battery
Once the new battery is securely installed, it’s essential to test its functionality. Use a voltmeter or battery load tester to measure the voltage and capacity of the new battery. Ensure that the readings fall within the recommended range. If everything checks out, congratulations! You have successfully replaced the battery in your electric scooter.
Safety Precautions for Battery Replacement
When replacing the battery in your electric scooter, it’s crucial to adhere to safety precautions to prevent accidents or injuries. Here are some important safety measures to follow:
Wearing Protective Gear
Before starting any work, wear protective gear such as gloves and safety glasses to protect yourself from potential hazards.
Disconnecting the Power Supply
Before removing the old battery, ensure that the power supply to your scooter is disconnected. This will prevent any electrical shocks or accidents during the replacement process.
Handling the Battery with Care
Batteries can be heavy, so take care when lifting or moving them. Avoid dropping the battery or placing it near sharp objects that may damage the battery casing.
Avoiding Short Circuits
During the battery replacement process, avoid short circuits by ensuring that no exposed wires come into contact with each other or any metal surfaces. This can cause damage to the battery or electrical system.
Proper Disposal of Old Battery
Dispose of the old battery safely. Contact your local waste management facility or battery recycling center for the proper disposal method in your area. Improper disposal can harm the environment and pose a risk to human health.

Choosing a Suitable Replacement Battery
When selecting a replacement battery for your electric scooter, consider the following factors to ensure the best performance and compatibility:
Determining the Battery Type
Identify the battery type used in your electric scooter, as different types require specific charging and maintenance procedures. Lithium-ion batteries are commonly used due to their energy density and longer lifespan.
Matching Voltage and Capacity
Ensure that the replacement battery has the same voltage as the original battery to avoid any electrical compatibility issues. Additionally, consider the capacity of the battery, as this affects the range and performance of your scooter.
Considering Size and Compatibility
The physical dimensions of the replacement battery should match the battery compartment of your electric scooter. It’s crucial to choose a battery that fits properly to ensure a secure and reliable connection.
Researching Quality and Brand Reputation
Invest in a high-quality battery from reputable brands known for their reliability and performance. Read customer reviews and seek recommendations to make an informed decision.
Checking Warranty and Customer Support
Before finalizing your purchase, check for any warranties provided by the battery manufacturer. Additionally, consider the availability and quality of customer support, which can be valuable in case of any issues or concerns.
Installing the New Battery
Properly installing the new battery in your electric scooter is crucial for optimal performance and safety. Follow these steps for a successful installation:
Positioning the Battery Correctly
Ensure that the new battery is positioned correctly within the battery compartment. Align the battery terminals with the corresponding connectors in the scooter, ensuring a secure and reliable connection.
Connecting Wires and Terminals
Connect the wires to the new battery following the configuration noted during the removal of the old battery. Ensure that each wire is securely attached to the correct terminal, minimizing the risk of loose connections or electrical faults.
Securing the Battery in Place
Using the appropriate fastenings or brackets, secure the new battery in place within the battery compartment. This prevents any movement or potential damage during operation.
Testing the Battery Connection
Before closing the battery compartment, thoroughly test the battery connection to ensure proper functionality. Use a voltmeter or battery load tester to measure the voltage and capacity of the new battery. If the readings fall within the recommended range, your new battery is ready for action.
By following these steps, you can successfully complete the battery replacement process and enjoy extended use of your electric scooter. Remember, if you’re uncertain about any aspect of the replacement process, it’s always best to seek professional assistance to ensure a safe and reliable battery installation. Happy riding!
