
If you’re the proud owner of a hoverboard, you may have wondered about the possibility of replacing its battery. The good news is, it is indeed possible, and even better – it can be a do-it-yourself task! In this article, we’ll explore the process of replacing the battery in your hoverboard, providing you with all the information you need to give your trusty ride a new lease on life. So, if you’ve ever pondered about swapping out your hoverboard’s battery, keep reading to discover just how achievable it is to give your favorite mode of transportation a power boost.
Can I Replace The Battery In My Hoverboard?
Are you wondering if it’s possible to replace the battery in your hoverboard? The good news is, yes, you can! Replacing the battery in your hoverboard can help extend its lifespan and ensure that your rides are always powered up. In this comprehensive article, we will guide you through the process of finding the right battery, the tools required, safety precautions, and the steps involved in replacing the battery. We will also discuss whether replacing the battery is a DIY task or if you should seek professional assistance. So, let’s dive in and explore the world of hoverboard battery replacement!
Finding the Right Battery
Before you dive into the battery replacement process, it’s essential to find the right battery for your hoverboard. Each hoverboard model may have different battery requirements, so it’s crucial to ensure compatibility. To find the right battery, you can refer to your hoverboard’s user manual or check the manufacturer’s website for specifications. Another option is to contact the manufacturer directly to get assistance in identifying the correct battery for your hoverboard model. It’s important to note that using a battery that is not recommended or compatible with your hoverboard may not only affect performance but can also pose safety risks.
Checking the Manufacturer’s Guidelines
When it comes to replacing the battery in your hoverboard, the manufacturer’s guidelines are your best friend. They provide valuable information on the process, tools required, and safety precautions specific to your hoverboard model. Before starting the battery replacement, make sure to carefully read and understand the guidelines provided by the manufacturer. Following the guidelines will not only ensure a successful battery replacement but will also prevent any potential damage to your hoverboard.
Tools Required for Battery Replacement
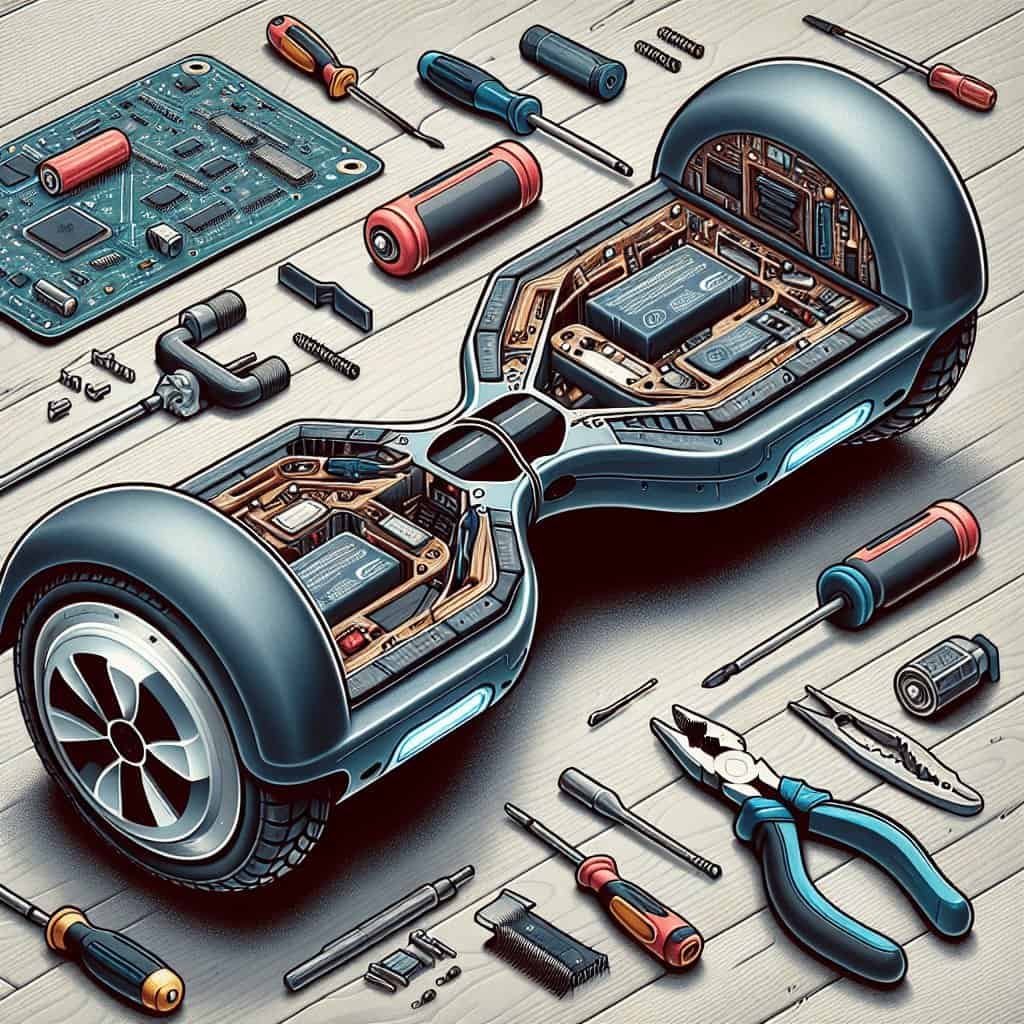
Replacing the battery in your hoverboard may require some specific tools. The exact tools needed can vary depending on the manufacturer and model. However, some common tools that might be necessary include a screwdriver (usually a Phillips head or hex key), a prying tool or spudger to disconnect connectors, and possibly a soldering iron if the battery is connected with wires. It’s essential to gather all the required tools before you start the battery replacement process to avoid any unnecessary delays or interruptions.
Time and Effort Involved
Replacing the battery in your hoverboard may require some time and effort. The duration can vary depending on your experience and familiarity with the process. If you are doing it for the first time, it’s advisable to allocate a substantial amount of time to complete the task. Also, keep in mind that the time required may be longer if you encounter any unexpected challenges or complications during the battery replacement process. Prepare yourself with patience and allocate enough time to ensure a successful battery replacement.
Safety Precautions
When it comes to working with batteries, safety should always be a top priority. Before you start the battery replacement, make sure to take the necessary safety precautions. This includes wearing protective gloves and safety glasses to protect your hands and eyes from any potential hazards. Additionally, ensure you are working in a well-ventilated area to avoid inhaling any fumes that may be emitted during the battery replacement process. If you are unsure about any safety measures or have concerns about working with batteries, it is recommended to seek professional assistance.
Understanding the Hoverboard’s Battery Connector
Before replacing the battery, it’s crucial to understand how the battery is connected to your hoverboard. Most hoverboards have a battery connector that allows you to easily connect and disconnect the battery. However, the type and design of the connector can vary between models. Familiarize yourself with the connector design and make sure you understand how to properly disconnect and reconnect it without causing any damage. Refer to the manufacturer’s guidelines or user manual for detailed instructions on handling the battery connector.
Removing the Old Battery
Now that you have gathered the necessary tools and familiarized yourself with the battery connector, it’s time to remove the old battery. Start by turning off the hoverboard and disconnecting it from any power source. Take caution when handling the old battery as it may still retain some charge. Using the appropriate tools, carefully unscrew any screws or bolts holding the battery in place. Once the fasteners are removed, disconnect the battery connector from the hoverboard. Take your time and be gentle during this process to avoid damaging any components.
Installing the New Battery
With the old battery successfully removed, it’s time to install the new battery. Begin by aligning the battery connector with the corresponding port on your hoverboard. Ensure a secure and proper connection without forcing any connectors. Once the connector is securely in place, reattach any screws or bolts that were removed during the removal process. Make sure all fasteners are tightened, but be cautious not to over-tighten as it may cause damage. Once you have securely installed the new battery, you are ready to move on to the next step.
Testing the New Battery
Before putting your hoverboard to regular use, it’s essential to test the new battery to confirm its functionality. Turn on the hoverboard and ensure that it powers up without any issues. You can take a short test ride to assess the battery’s performance and make sure everything is in proper working order. If you notice any abnormal behavior or if the battery does not perform as expected, double-check the battery connection and seek assistance if needed. It’s always better to address any concerns before relying on the hoverboard for regular use.
Troubleshooting Tips
Sometimes, even with careful battery replacement, issues may arise. Here are a few troubleshooting tips to help you in case you encounter any problems:
- Double-check the battery connectors to ensure they are properly connected.
- Make sure the battery is securely fastened to the hoverboard, with no loose screws.
- Confirm that the battery is compatible with your hoverboard model and meets the recommended specifications.
- If the hoverboard does not power on or the battery drains quickly, consider contacting the manufacturer or seeking professional assistance for further troubleshooting.

Is It a DIY Task?
With the detailed information provided above, let’s now explore whether replacing the battery in your hoverboard is a DIY task or if you should seek professional assistance.
Understanding Your Skills and Abilities
Replacing the battery in your hoverboard can be considered a DIY task if you have the necessary skills and abilities. It involves technical knowledge, some familiarity with electronic components, and the ability to follow instructions carefully. If you have prior experience with similar tasks, such as working with batteries or electronic devices, you may feel more confident in tackling the battery replacement yourself. However, if you are uncertain about your abilities or lack the required knowledge, it is advisable to seek professional assistance to ensure a successful battery replacement.
Warranty Considerations
If your hoverboard is still under warranty, attempting to replace the battery yourself may void the warranty. Manufacturers often have specific guidelines that must be followed for repairs or battery replacements to maintain the warranty coverage. It’s important to carefully review your warranty terms and conditions before deciding to replace the battery yourself. If the warranty is a priority for you, it may be wise to consult with the manufacturer or an authorized service center for battery replacement.
Professional Assistance
If you are unsure about tackling the battery replacement yourself or if your hoverboard is still under warranty, seeking professional assistance is a viable option. Professional technicians have the expertise and experience to handle battery replacements effectively and safely. They can ensure that the correct battery is installed and that all connections are made correctly. While professional assistance may involve additional costs, it provides peace of mind and eliminates the risk of potential damage or safety concerns.
Cost Comparisons
One important aspect to consider when deciding on DIY battery replacement versus professional assistance is the cost involved. DIY battery replacement can save you money on labor costs, as you will be performing the task yourself. However, it’s important to factor in the cost of purchasing a compatible battery and any necessary tools. Additionally, if any mistakes are made during the DIY process, it could result in additional expenses for repairs or replacement parts. Comparing the overall cost of DIY battery replacement with professional assistance can help you determine which option is more cost-effective for you.
Benefits of DIY Battery Replacement
There are several benefits to consider when opting for a DIY battery replacement. Firstly, DIY allows you to have full control over the process and ensures that the battery replacement is done according to your preferences. It also gives you the opportunity to learn more about your hoverboard and its components, gaining valuable knowledge that can be useful in the future. Additionally, DIY projects can be fulfilling and provide a sense of accomplishment after successfully completing the battery replacement.
Risks of DIY Battery Replacement
While DIY battery replacement can be a rewarding experience, it also comes with potential risks. If the battery replacement is not done correctly, it can lead to performance issues, safety hazards, or even damage to your hoverboard. Working with batteries involves handling potentially dangerous components, and any mistakes can have serious consequences. If you are unsure about your skills or have concerns about safety, it’s always better to prioritize your well-being and seek professional assistance.
Steps for Successful DIY Battery Replacement
If you decide to proceed with a DIY battery replacement, here are some steps to help ensure a successful process:
- Carefully read and follow the manufacturer’s guidelines specific to your hoverboard model.
- Gather all the necessary tools and materials before starting the replacement.
- Take your time and work in a well-organized manner to avoid mistakes.
- Follow step-by-step instructions, paying close attention to details and connectors.
- Double-check all connections, ensuring they are secure and properly aligned.
- Test the new battery thoroughly before relying on the hoverboard for regular use.
- Seek professional assistance if you encounter any difficulties or uncertainties during the DIY process.
Additional Tips for DIY Battery Replacement
Here are a few additional tips to keep in mind during the DIY battery replacement:
- Take pictures or make notes during the disassembly process to help with reassembly.
- Label and organize any screws or small parts to avoid confusion during reassembly.
- Avoid rushing or forcing any components during the battery replacement.
- If you are unsure about any step or procedure, consult the manufacturer’s guidelines or seek professional advice.
Alternative Options for Battery Replacement
If you are uncomfortable performing the battery replacement yourself, there are alternative options available. One option is to contact the manufacturer or an authorized service center and inquire about their battery replacement services. They can guide you through the process and ensure that the battery replacement is done correctly. Another option is to seek assistance from a qualified technician or hoverboard repair specialist who has experience in battery replacements. Whichever option you choose, it’s important to prioritize the safety and functionality of your hoverboard.
Conclusion
In conclusion, replacing the battery in your hoverboard is indeed possible, and whether it is a DIY task depends on your skills, abilities, and preferences. By understanding the manufacturer’s guidelines, gathering the necessary tools, and following the step-by-step instructions carefully, you can successfully replace the battery yourself. However, if you are uncertain about your abilities or have concerns about safety, it is recommended to seek professional assistance. Consider the costs, benefits, and risks associated with each option before making a decision. Remember, the ultimate goal is to ensure a safe and properly functioning battery in your hoverboard for many more exciting rides ahead!
