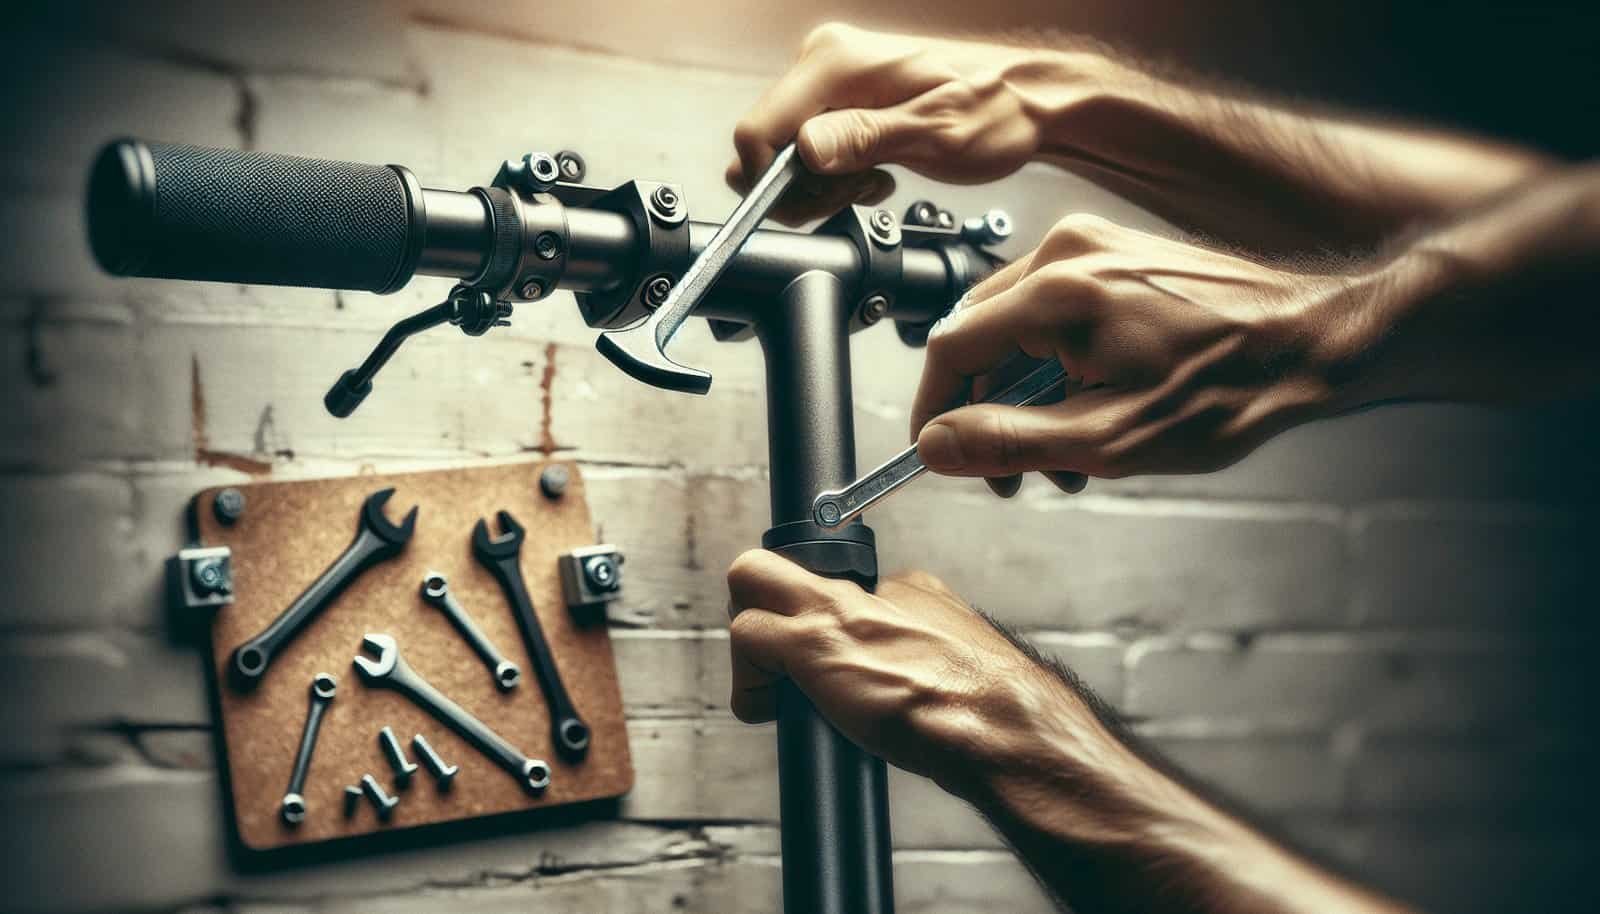
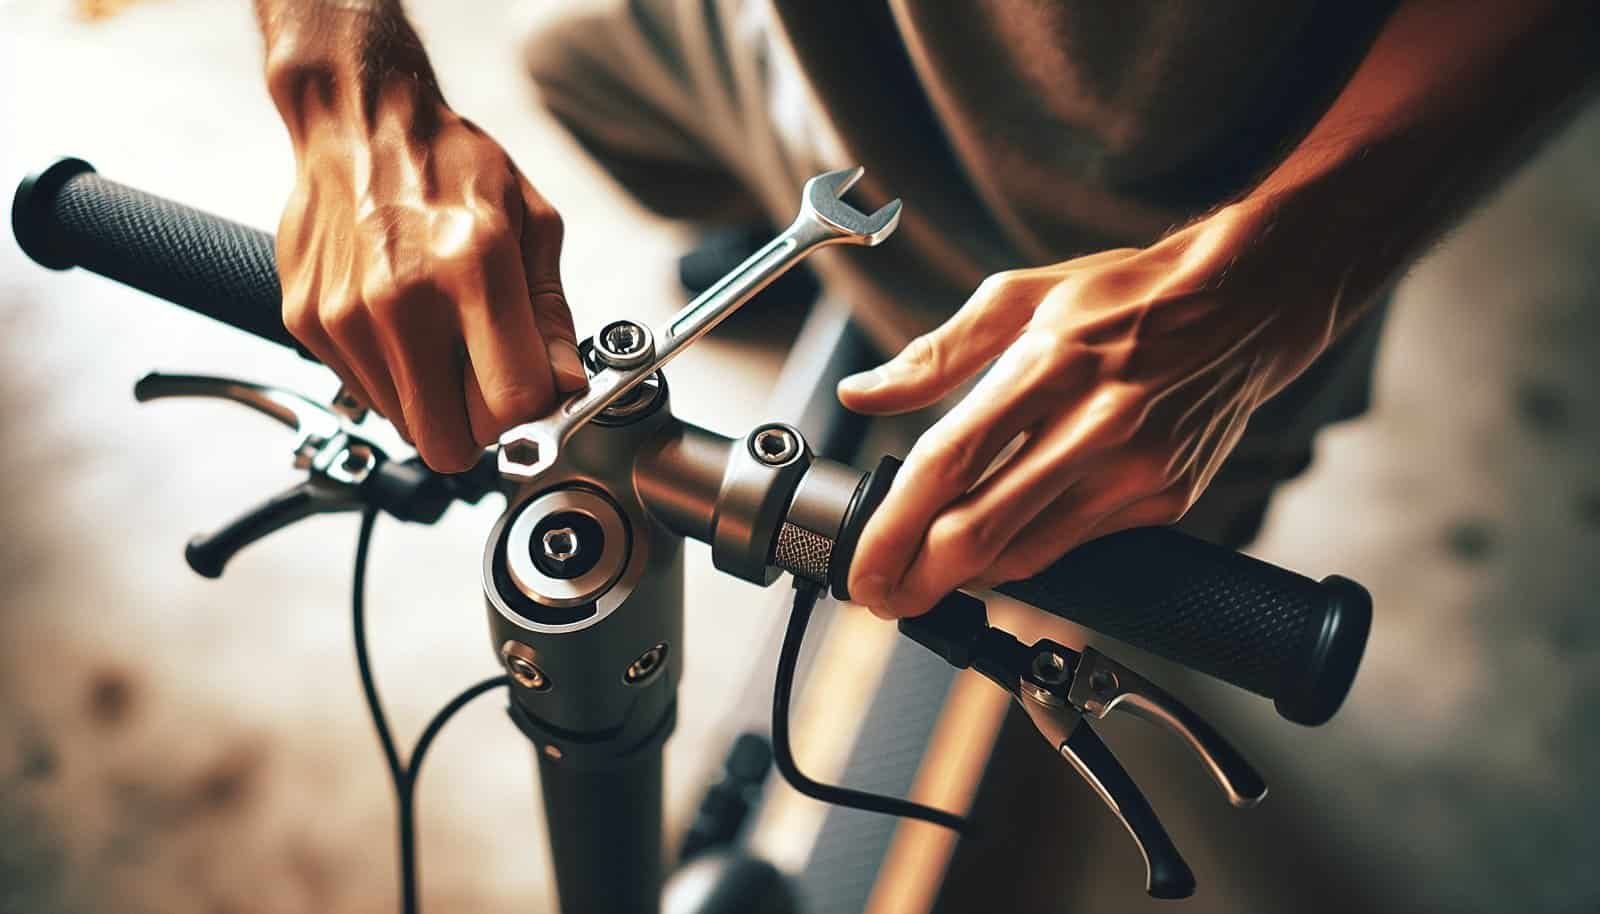
Welcome to this handy guide on adjusting the height of the handlebar stem on your electric scooter. Making this adjustment is easier than you might think and can significantly improve your riding experience. To get started, you’ll need a few basic tools and a bit of patience. By carefully loosening the stem clamp bolts and gently shifting the handlebars up or down, you can customize the height to suit your comfort. Re-tighten everything securely, and you’re ready to enjoy a more comfortable and efficient ride. This guide will walk you through each step, ensuring that you ride with confidence and ease. Have you ever found yourself wondering, “How do I adjust the height of the handlebar stem on my electric scooter?” If so, you’re in the right place! Adjusting the handlebar stem is one of those tasks that can make your ride more comfortable and enjoyable. Whether you’re new to electric scooters or a seasoned rider, getting the handlebar height dialed in just right is essential for a safe and relaxed ride. Let’s walk through this step-by-step in a friendly and easy-to-understand manner.

Understanding The Importance of Proper Handlebar Height
Setting the handlebar height correctly isn’t just a matter of comfort. It impacts your riding posture, safety, and control over the scooter.
Why Proper Handlebar Height Matters
- Comfort: When you’re riding for extended periods, the right handlebar height ensures you don’t end up with sore wrists, shoulders, or back.
- Control: A handlebar that is too high or too low can make it difficult to maneuver your scooter effectively.
- Safety: Proper height helps you maintain a natural posture, which is crucial for quick reactions and stability.
Before we dive into the steps, let’s first understand the components involved in the adjustment.
Familiarizing Yourself With The Components
Knowing what you’re dealing with can make the adjustment process smooth and hassle-free. Here are the main parts you need to know:
- Handlebar Stem: This is the vertical tube that connects the handlebars to the scooter.
- Clamp or Collar: A ring-like component that holds the stem in place.
- Bolts and Screws: These are used to tighten the clamp.
Common Types of Handlebars and Stems
Different scooters might have varying mechanisms for adjusting the handlebar height. Here are some common types:
- Foldable Handles: Typically have a quick-release lever for easy folding and height adjustment.
- Fixed Handles: Require tools like Allen wrenches for adjustment.
- Adjustable Stems: Often found in more advanced models for fine-tuning height.
Tools You’ll Need
Having the right tools on hand can save you a lot of time and frustration. Here’s a list of commonly required tools:
| Tool | Purpose |
|---|---|
| Allen Wrench Set | For tightening and loosening bolts |
| Screwdriver | Often needed for bolts on the clamp |
| Adjustable Wrench | Handy for bolts and screws of varying sizes |
| Measuring Tape | Ensures consistent adjustments |
Step-by-Step Guide to Adjusting Handlebar Height
Ready to get started? Here’s a detailed guide to help you through the process.
Step 1: Preparation
First things first, find a flat and stable working area. Place your scooter on its kickstand or lean it against a wall to ensure it doesn’t tip over while you’re working.
Step 2: Locate the Clamp or Collar
The clamp is usually found at the base of the handlebar stem, where it connects to the scooter. You’ll likely see one or more bolts holding it in place.
Step 3: Loosen the Bolts
Using the appropriate tool (typically an Allen wrench or screwdriver), loosen the bolts on the clamp. Be careful to loosen them adequately so the stem can move, but don’t fully remove them yet.
Step 4: Adjust the Height
Now comes the fun part! Slowly raise or lower the handlebar stem to your desired height. It might take a few tries to get it just right. As a general rule of thumb, the handlebars should ideally be at waist level when you’re standing on the scooter.
Step 5: Tighten the Bolts
Once you’ve found the perfect height, tighten the bolts back up. Ensure they are securely fastened to avoid any sudden movements while riding.

Fine-Tuning Your Handlebar Height
Even after adjusting the handlebars, you might find the need for some fine-tuning. Here’s how you can do it.
Test Ride
Take your scooter for a short test ride to feel out the new handlebar height. Pay attention to posture, comfort, and control.
Minor Adjustments
If it doesn’t feel quite right, make small adjustments. Loosen the bolts just enough to make minor tweaks, then retighten and test again.
Troubleshooting Common Issues
Sometimes, things don’t go as planned. Here are some common issues and how to solve them.
Handlebar Keeps Slipping
If your handlebars keep slipping down even after tightening the bolts, it might be because the clamp isn’t gripping tightly enough. Double-check the tightness of the bolts and consider adding a bit of friction material to the inside of the clamp.
Uneven Handlebar
If your handlebars are crooked, they might not be seated properly in the clamp. Ensure the stem is perfectly vertical before tightening the bolts.
Additional Tips and Tricks
Here are a few additional tips to consider:
- Regular Maintenance: Check the bolts and screws periodically to ensure everything remains tight.
- Mark Your Settings: Use a piece of tape or a marker to note your preferred handlebar height. This makes future adjustments quicker.
- Consult The Manual: Always refer to your scooter’s user manual for specific instructions and torque settings.
When to Seek Professional Help
If you’re having difficulty or something doesn’t seem right, it may be best to consult a professional. Many bike shops can assist with scooter adjustments, and it’s better to be safe than sorry.
Conclusion
Adjusting the handlebar height on your electric scooter might seem daunting at first, but it’s quite straightforward once you know the steps. Proper handlebar height can significantly enhance your riding experience by improving comfort, control, and safety. So go ahead, make those adjustments, and enjoy your ride!
Now that you know how to adjust the height of the handlebar stem on your electric scooter, you can ensure the perfect fit every time you ride. Happy scooting!

