Have you ever found yourself puzzled about why your hoverboard isn’t charging properly? It’s a common issue that many hoverboard owners face, and often, the charging port could be the culprit. But don’t worry! Understanding how to check and replace the hoverboard’s charging port can not only save you a trip to the repair shop but also save your hard-earned dollars.
Hoverboards have become increasingly popular, especially among enthusiasts who love zipping around with ease. But just like any other electronic device, they’re susceptible to wear and tear. One of the critical components that could fail over time is the charging port. Let’s walk through how you can smoothly handle this situation without panicking.
Understanding the Basics of a Hoverboard Charging Port
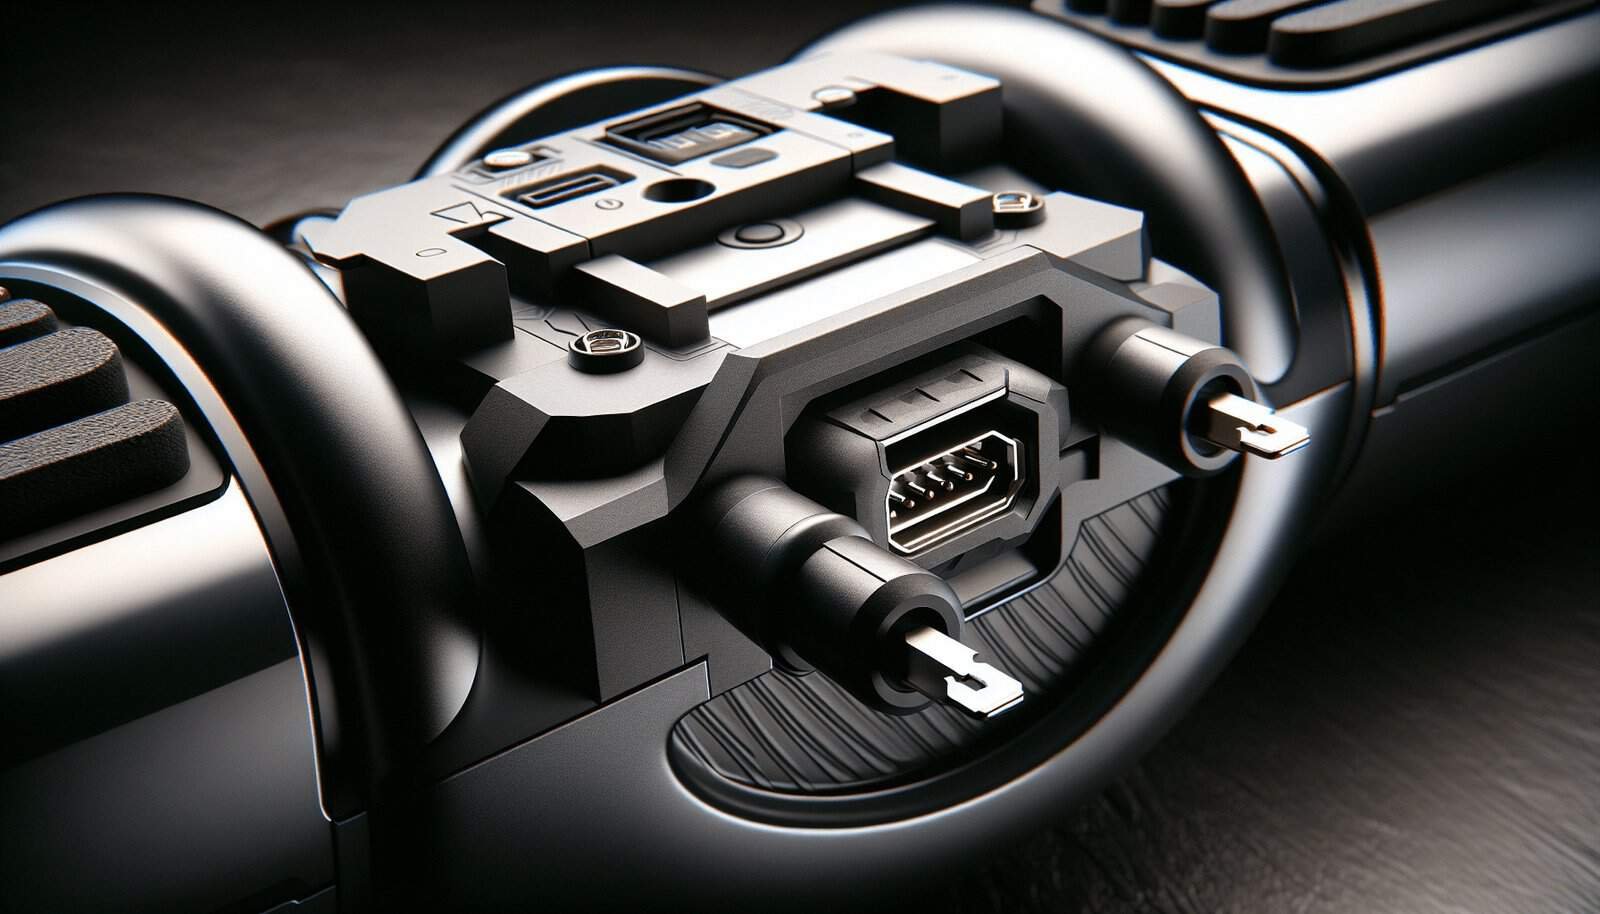
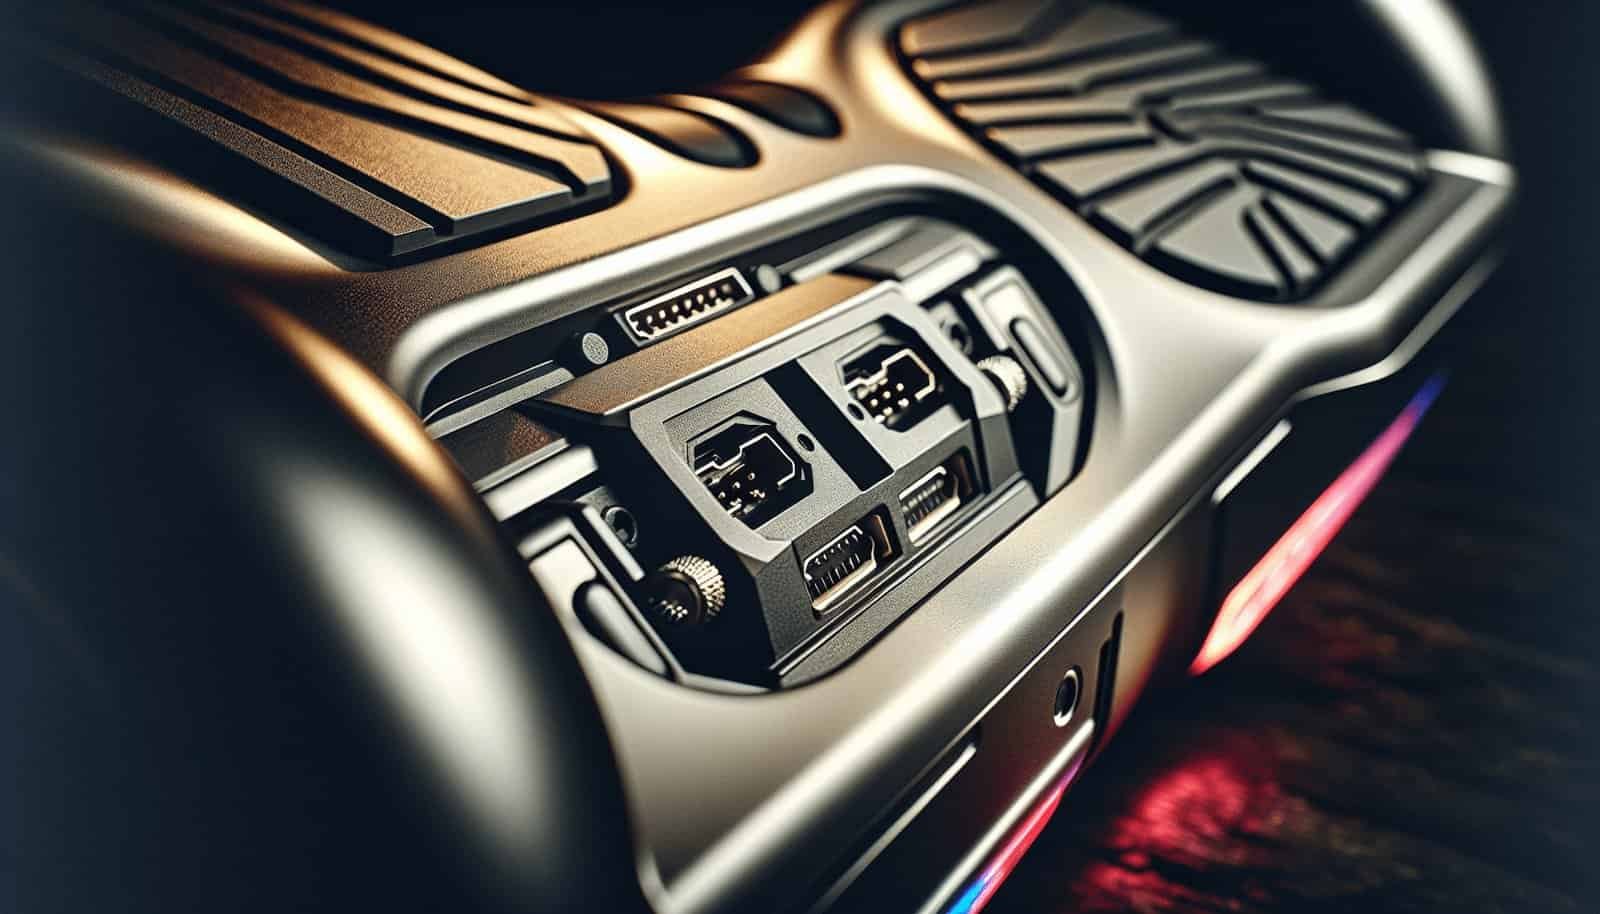
Before diving into the how-tos, it’s essential to understand what a charging port does in your hoverboard. The charging port is the gateway for electricity, allowing your hoverboard’s battery to charge. Over time, due to constant plugging and unplugging, the port can become loose, damaged, or break entirely.
Common Symptoms of a Faulty Charging Port
A malfunctioning charging port will typically show some telltale signs. Here are a few symptoms that might indicate your charging port needs attention:
- Intermittent Charging: Your hoverboard might charge erratically, with the charging light flickering on and off.
- No Charging Signal: There’s no illumination of the charging indicator when you plug the charger in.
- Physical Damage: Visible wear, tear, or distortion in the charging port area.
Understanding these symptoms can guide you in determining whether the charging port needs checking and possibly replacing.

Tools You Might Need
To check and replace a hoverboard charging port, it’s best to have the right tools on hand. Having the proper tools can make the process smoother and more efficient.
Tools Check-list
Here’s a simple table listing the tools you might require:
| Tool | Purpose |
|---|---|
| Screwdriver | To open up the hoverboard’s casing. |
| Multimeter | To test the voltage and ensure the port’s health. |
| Replacement Charging Port | If a new port is needed. |
| Soldering Kit | To secure the new port if soldering is required. |
| Needle Nose Pliers | For handling small components and wires. |
Having these tools ready will make the job less overwhelming and more manageable.

How to Check the Hoverboard’s Charging Port
Now that you know the tools needed, let’s discuss the step-by-step process of checking your hoverboard’s charging port. It’s wise to proceed cautiously, as you’re dealing with an electronic device.
1. Safety Precautions
Always begin with safety at the forefront. Ensure the hoverboard is turned off and unplugged. Work in a well-lit area, possibly on a non-static surface to avoid any accidental damages.
2. Opening the Hoverboard
Using the screwdriver, carefully unscrew the casing of your hoverboard to access the internal components. Remember to keep the screws in a safe place; losing them can add unnecessary complications.
3. Inspecting the Port
Once opened, gently inspect the charging port. Look for visible signs of damage, such as broken pins or loose connections. Wiggle the port slightly to see if it moves. A tightly secured port should not wobble.
4. Testing the Voltage
Using a multimeter, verify the voltage reading. Here’s a simplified step guide:
- Turn on the multimeter and set it to the “DC Voltage” setting.
- Connect the red lead to the inner part of the port and the black lead to the outer part.
- Check the voltage reading, which should align with your hoverboard’s charging specifications.
If the voltage reading is off or nonexistent, the charging port might need replacing.

Replacing the Hoverboard Charging Port
After determining that the charging port is faulty, it’s time to replace it. This process demands some technical skills but can be accomplished by anyone willing to follow detailed instructions.
1. Acquire a Compatible Replacement
Ensure that you have a compatible replacement port for your hoverboard model. Compatibility is crucial to ensure that it fits and functions correctly.
2. Remove the Damaged Port
Carefully desolder any connections, using the soldering kit if necessary, to detach the faulty charging port from the circuit board. Make sure to take note of the wiring; it must be correctly reconnected later.
3. Install the New Port
Position the new charging port correctly and gently solder it in place, ensuring all connections are secure. Use your pliers for any delicate maneuvering needed.
4. Test the New Installation
Once installed, perform a quick test using the multimeter and confirm a consistent voltage reading. Plug in the charger and check if the charging light illuminates without any interruptions.

Reassemble Your Hoverboard
With the new charging port in place and working, it’s time to reseal the hoverboard. Follow these steps to finish the job:
1. Secure the Hoverboard Case
Carefully reposition the casing, ensuring that all components are in their rightful places. Use the screws you set aside earlier to affix the casing securely.
2. Final Testing
Before celebrating your success, double-check that your hoverboard charges seamlessly. A smooth charging process means your mission was successful.

Tips for Long-term Maintenance of Your Hoverboard
To minimize future disruptions, here are some friendly tips to optimize the life of your hoverboard and its charging port:
- Avoid Rough Handling: Regularly rough handling can dislodge components over time, so handle your hoverboard with care.
- Regular Inspections: Periodic checks help in identifying and addressing issues before they escalate.
- Use the Right Charger: Always use chargers specified by your hoverboard manufacturer to prevent overloading the port.
Additional Insights
Given the significance of the charging port, being proactive and informed helps maintain your hoverboard in flawless working order. If you’re unsure about any aspects of checking or replacing the charging port, consulting with a professional technician might be a sensible approach.
With these guidelines, you can tackle the intricacies of hoverboard maintenance with confidence—ensuring you keep cruising around with minimal interruptions. Remember, prevention is often better than cure, so regular attention to your hoverboard’s health can enhance its lifespan significantly.
By understanding and navigating these technical aspects, you’re not only fixing an issue but growing your knowledge base on hoverboards. Knowledge, after all, is power, especially when it empowers you to resolve perplexing challenges with ease and assurance.

