So you’ve recently acquired an electric bike and you’re enjoying the ease and convenience it offers, but now you find yourself wondering how to properly maintain it. One crucial aspect of bike maintenance is regularly checking and tightening the bolts and screws. This ensures that everything stays securely in place, preventing any potential safety hazards. But fear not, because in this article, we’ll guide you through the simple and effective steps to keep your electric bike in tip-top shape. So let’s get started and make sure those bolts and screws are snug and secure!
Inspecting the Bolts and Screws
Identify the bolts and screws on your electric bike
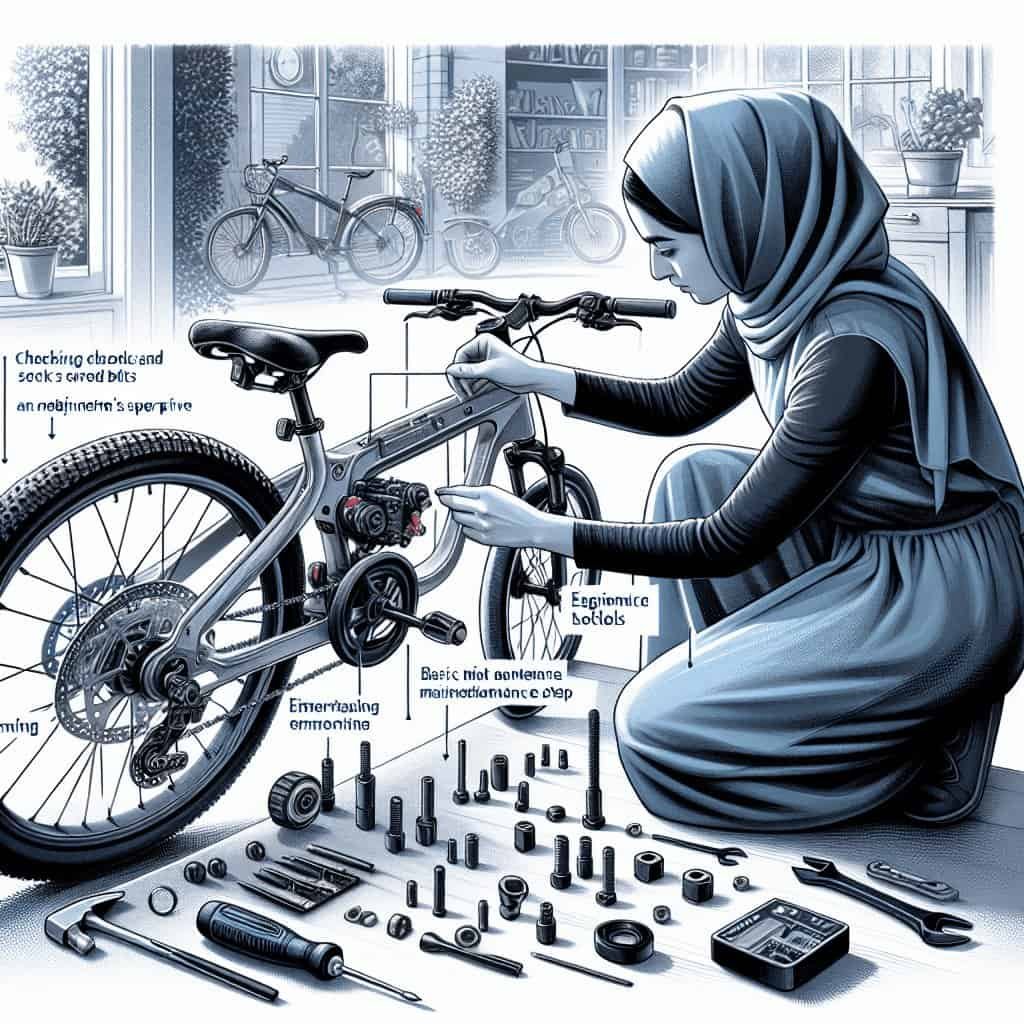
When it comes to inspecting and tightening the bolts and screws on your electric bike, it’s important to first identify where they are located. Electric bikes have a variety of components that are held together by bolts and screws, such as the handlebars, stem, brake calipers, saddle, seatpost, pedals, crankset, motor and battery connections, derailleur, chainring, and wheel nuts or quick-release levers. By familiarizing yourself with the different parts of your electric bike and where the bolts and screws are located, you can conduct a thorough inspection and ensure that everything is properly secured.
Look for any loose or missing bolts and screws
Once you’ve identified the bolts and screws on your electric bike, the next step is to carefully inspect them for any signs of looseness or missing pieces. Loose bolts and screws can compromise the safety and functionality of your electric bike, so it’s crucial to address them promptly. Take a close look at each bolt and screw, and gently try to tighten them with your fingers. If you come across any that are easy to rotate without much resistance, they may be loose and in need of tightening. Similarly, if you notice any bolts or screws that are completely missing, it’s important to replace them as soon as possible to prevent further damage.
Check for any signs of damage or wear on the bolts and screws
In addition to looking for loose or missing bolts and screws, it’s also important to inspect them for any signs of damage or wear. Over time, bolts and screws can become worn out or damaged, which can affect their effectiveness in holding components securely in place. Look for any visible signs of corrosion, rust, stripped threads, or other forms of damage. If you notice any of these issues, it’s recommended to replace the affected bolts and screws to ensure the structural integrity and safety of your electric bike.

Preparing the Tools
Gather the necessary tools for the task
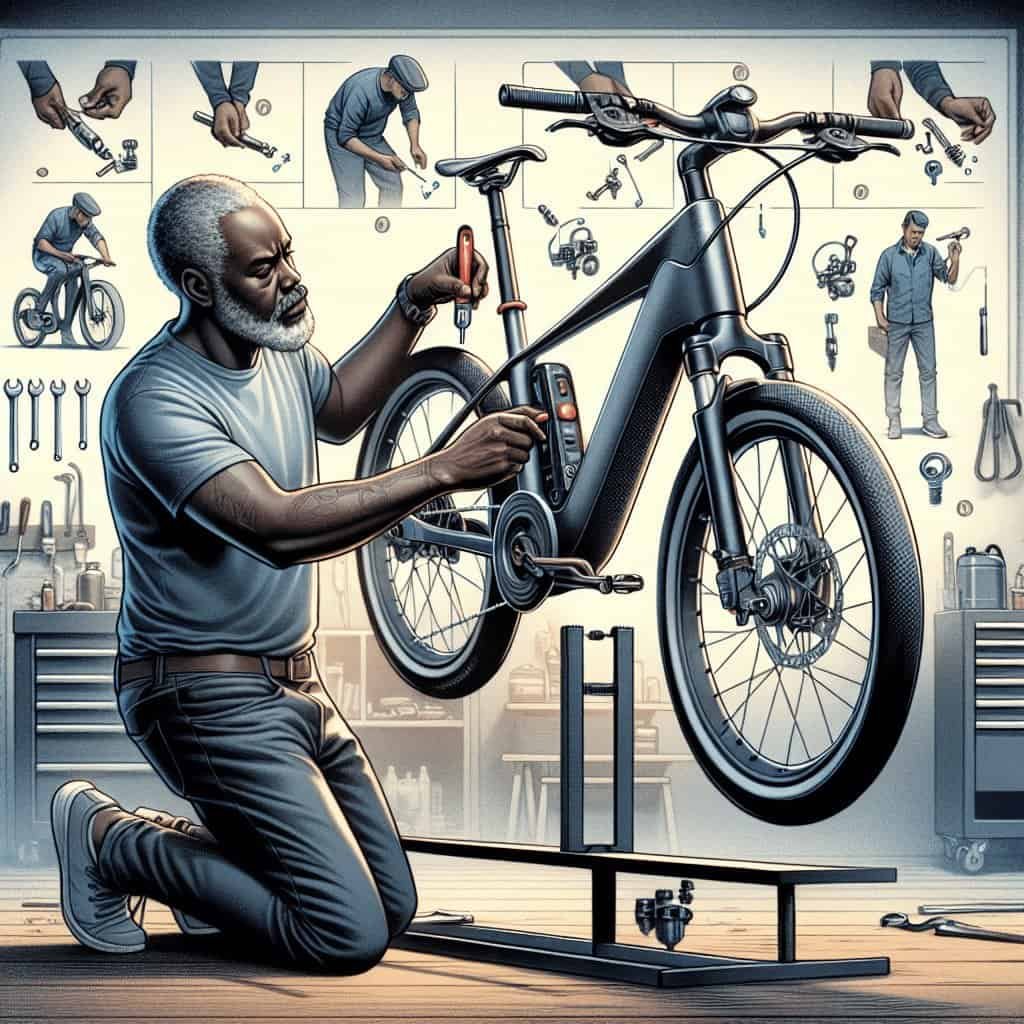
Before you begin tightening the bolts and screws on your electric bike, it’s important to gather all the necessary tools. Having the right tools readily available will make the task much easier and more efficient. Some of the essential tools you may need include wrenches, screwdrivers, and a torque wrench for precise tightening. Depending on the specific components of your electric bike and their fastening mechanisms, you may need various sizes of wrenches or screwdrivers. It’s a good idea to have a complete set of tools to ensure that you have the appropriate sizes to fit all the bolts and screws on your electric bike.
Ensure you have the correct size of wrenches or screwdrivers
When it comes to tightening bolts and screws, having the correct size of wrenches or screwdrivers is crucial. Using the wrong size tool can lead to stripped threads, damage to the bolts or screws, and an inadequate level of tightening. Before you start the task, double-check that you have the correct sizes of wrenches or screwdrivers to fit the bolts and screws on your electric bike. It’s always better to be prepared and have the right tools on hand rather than trying to make do with an ill-fitting tool.
Consider using a torque wrench for precise tightening
While regular wrenches and screwdrivers can get the job done, using a torque wrench can provide an additional level of precision when tightening bolts and screws on your electric bike. A torque wrench allows you to apply a specific amount of force or torque to the bolts, ensuring that they are tightened to the manufacturer’s recommended specifications. This is particularly important for components that require precise torque, such as the stem bolts or crankset bolts. Using a torque wrench can help prevent overtightening, which can damage the bolts or screws, as well as undertightening, which can compromise the stability and safety of your electric bike.

Tightening Bolts and Screws
Start by securing the handlebars
One of the first components you should check and tighten on your electric bike is the handlebars. Handlebars play a crucial role in steering and controlling your bike, so it’s important to ensure that they are securely fastened. Start by locating the bolts or screws that hold the handlebars in place. Using the appropriate wrench or screwdriver, gently tighten the bolts or screws until they are snug. Be careful not to overtighten, as this can cause damage to the handlebars or the other components.
Check and tighten the stem bolts
The stem is responsible for connecting the handlebars to the fork of your electric bike, and it’s important to regularly check and tighten the stem bolts. Locate the stem bolts, which are typically found on the front of the bike’s head tube. Using the correct size wrench or torque wrench, gradually tighten the stem bolts in a crisscross pattern to ensure even distribution of force. Be mindful of the recommended torque specifications provided by the manufacturer, as overtightening or undertightening can affect the stability and steering of your electric bike.
Inspect and tighten the brake caliper bolts
Brakes are a critical component of any bike, and it’s essential to regularly inspect and tighten the brake caliper bolts on your electric bike. The brake caliper bolts secure the brake caliper to the frame or fork, ensuring that the brakes operate effectively. Locate the brake caliper bolts, which are usually found near the brake pads. Check each bolt for any signs of looseness, and using an appropriate wrench or screwdriver, tighten them until they are snug. Be cautious not to overtighten, as this can cause damage to the brake caliper or affect the braking performance.
Ensure the saddle and seatpost are secure
The saddle and seatpost are components that provide comfort and stability while riding your electric bike. It’s important to regularly check and tighten the bolts or screws that secure them in place. Locate the bolts or screws that hold the saddle to the seatpost, and using the correct size wrench or screwdriver, ensure that they are tightened securely. Additionally, check the bolts or quick-release mechanism that attaches the seatpost to the frame and make sure they are tightened to the appropriate torque specifications. A loose saddle or seatpost can affect your balance and control while riding, so it’s crucial to keep these components properly secured.
Check and tighten the pedal bolts
Pedals are responsible for transferring your power to the bike’s drivetrain, and it’s crucial to check and tighten the pedal bolts regularly. Locate the pedal bolts on each side of the crank arms, and using an appropriate wrench or screwdriver, tighten them until they are secure. Make sure to check both the left and right pedals. Loose pedal bolts can not only affect your performance while riding, but they can also cause damage to the crank arms or even lead to the pedals falling off during use.
Inspect and tighten the crankset bolts
The crankset is a key component of the electric bike’s drivetrain, and it’s important to regularly inspect and tighten the crankset bolts. The crankset consists of the crank arms, chainrings, and the bottom bracket. Locate the crankset bolts, which connect the crank arms to the chainrings, and using an appropriate wrench or screwdriver, tighten them to the recommended torque specifications. Properly tightened crankset bolts ensure smooth and efficient power transmission, as well as overall stability and safety.
Secure the motor and battery connections
If your electric bike has a motor and battery, it’s important to regularly check and secure their connections. The motor is typically located near the bottom bracket, while the battery is often attached to the frame or integrated into it. Inspect the connections between the motor and the frame, as well as the battery and its mounting points. Ensure that all bolts or screws are tightened securely, but be cautious not to overtighten, as this can damage the components. Loose connections can result in poor performance, intermittent power supply, or even complete failure of your electric bike.
Verify the tightness of the derailleur and chainring bolts
The derailleur and chainring are crucial components in the shifting and power transmission system of your electric bike. It’s important to regularly check and tighten the bolts that secure them in place. Locate the derailleur and chainring bolts, and using the correct size wrench or screwdriver, ensure that they are tightened to the manufacturer’s recommended torque specifications. Loose bolts can result in misalignment, poor shifting performance, or even damage to the chain and other drivetrain components. By keeping these bolts properly tightened, you can enjoy smooth and reliable shifting on your electric bike.
Ensure the wheel nuts or quick-release levers are tight
The wheels of your electric bike are held in place by either nuts or quick-release levers, depending on the type of axles. It’s important to regularly check and tighten these fastening mechanisms to ensure the wheels are securely attached. If your electric bike has nuts, use an appropriate wrench to tighten them until they are snug. If your electric bike has quick-release levers, make sure they are properly engaged and tightened. Loose wheel nuts or quick-release levers can lead to unstable handling, potential wheel wobbling, or even wheel detachment while riding, which can be extremely dangerous.
Check and tighten any additional bolts or screws on your specific electric bike model
In addition to the components mentioned above, your electric bike may have other specific components and accessories that require regular inspection and tightening of bolts and screws. These may include fenders, racks, chain guards, kickstands, or lights. Consult your electric bike’s user manual or contact the manufacturer to identify any additional components that require maintenance. Once identified, inspect and tighten the bolts and screws on these components according to their specific mounting instructions and torque specifications.

Applying Proper Torque
Understand the recommended torque specifications
When it comes to tightening bolts and screws on your electric bike, it’s important to understand the recommended torque specifications provided by the manufacturer. Torque specifications indicate the amount of force or tightening torque that should be applied to each bolt or screw to ensure optimal performance and prevent damage. These specifications are often measured in Newton meters (Nm) or inch-pounds (in-lbs). Consult your electric bike’s user manual or the manufacturer’s website for the specific torque specifications for each component on your bike. Understanding these specifications will help you apply the correct amount of force when tightening the bolts and screws.
Use a torque wrench to apply the correct amount of force
To ensure accurate and consistent tightening of bolts and screws, it’s highly recommended to use a torque wrench. A torque wrench allows you to apply the specific amount of force or torque as recommended by the manufacturer. When using a torque wrench, set it to the appropriate torque value specified for each bolt or screw, and gradually tighten until you hear or feel a click, indicating that the desired torque has been reached. This helps prevent overtightening, which can damage the threads, strip the bolts or screws, or even cause structural damage to the components. Using a torque wrench ensures that each bolt or screw is tightened uniformly and consistently, providing optimal performance and safety.
Be cautious not to overtighten the bolts and screws
While it’s important to ensure that bolts and screws are properly tightened, it’s equally crucial to avoid overtightening them. Overtightening can lead to damaged threads, stripped bolts or screws, and even structural failure of the components. It’s important to follow the recommended torque specifications provided by the manufacturer and use a torque wrench when necessary. The torque specifications are designed to provide the optimal balance between tightness and avoiding damage. By applying the correct amount of force and being cautious not to overtighten, you can maintain the integrity and longevity of your electric bike’s components.

Regular Maintenance Schedule
Create a maintenance routine for checking bolts and screws
To ensure the continued reliability and safety of your electric bike, it’s essential to create a maintenance routine specifically for checking the bolts and screws. Establish a regular schedule, such as once a month or every few hundred miles, to inspect and tighten the bolts and screws on your electric bike. By incorporating this routine into your regular maintenance regimen, you can detect and address any loose or missing bolts and screws before they cause further issues or potential accidents. Regular maintenance not only ensures optimal performance but also extends the lifespan of your electric bike.
Follow the manufacturer’s guidelines for recommended intervals
While creating a maintenance routine is important, it’s equally necessary to follow the manufacturer’s guidelines for the recommended intervals at which bolts and screws should be checked and tightened. Different electric bike models or components may require specific inspection and tightening intervals based on their design and usage. Consult your electric bike’s user manual or contact the manufacturer to understand their recommended maintenance schedule for bolts and screws. By following these guidelines, you can ensure that your electric bike remains in top condition and minimize the risk of any unforeseen issues due to loose or missing bolts and screws.
Consider professional maintenance for complex or unfamiliar components
While it’s beneficial to inspect and tighten bolts and screws on your electric bike yourself, there may be certain components or complex systems that require professional maintenance. Electric bikes can have intricate designs, particularly with advanced motor and battery systems. If you are unfamiliar with specific components or if you are unsure about your ability to properly inspect and tighten the bolts and screws, it’s always better to seek help from a professional bike mechanic or electric bike specialist. They have the expertise and experience to handle complex maintenance tasks and ensure the safety and performance of your electric bike. Investing in professional maintenance, especially for intricate components, can provide peace of mind and prevent potentially costly or dangerous mistakes.
Checking and tightening the bolts and screws on your electric bike is a critical part of regular maintenance. By following a systematic approach, gathering the necessary tools, and using recommended torque specifications, you can ensure that your electric bike remains safe, reliable, and enjoyable to ride. Establishing a maintenance routine and adhering to the manufacturer’s guidelines will help you stay on top of this essential task. Remember, when in doubt or faced with complex components, it’s always better to seek professional help to ensure the longevity and optimal performance of your electric bike. So grab your tools, inspect those bolts and screws, and keep riding with confidence!


