Have you ever wondered how to check the battery life of your hoverboard? It’s a common concern among hoverboard owners, as no one wants to be left stranded when their battery suddenly dies. Well, fear not! In this article, we will explore some simple and effective ways for you to check the battery life of your hoverboard, so you can have peace of mind and enjoy your rides to the fullest.
Checking the Battery Life of a Hoverboard
When it comes to enjoying your hoverboard to the fullest, one of the most important factors to consider is the battery life. Knowing how much juice is left in your hoverboard’s battery can help you plan your rides better and avoid getting stuck in the middle of your journey. In this comprehensive guide, we will explore various methods and techniques to check the battery life of your hoverboard, ensuring a smooth and hassle-free riding experience.
Using the Battery Indicator
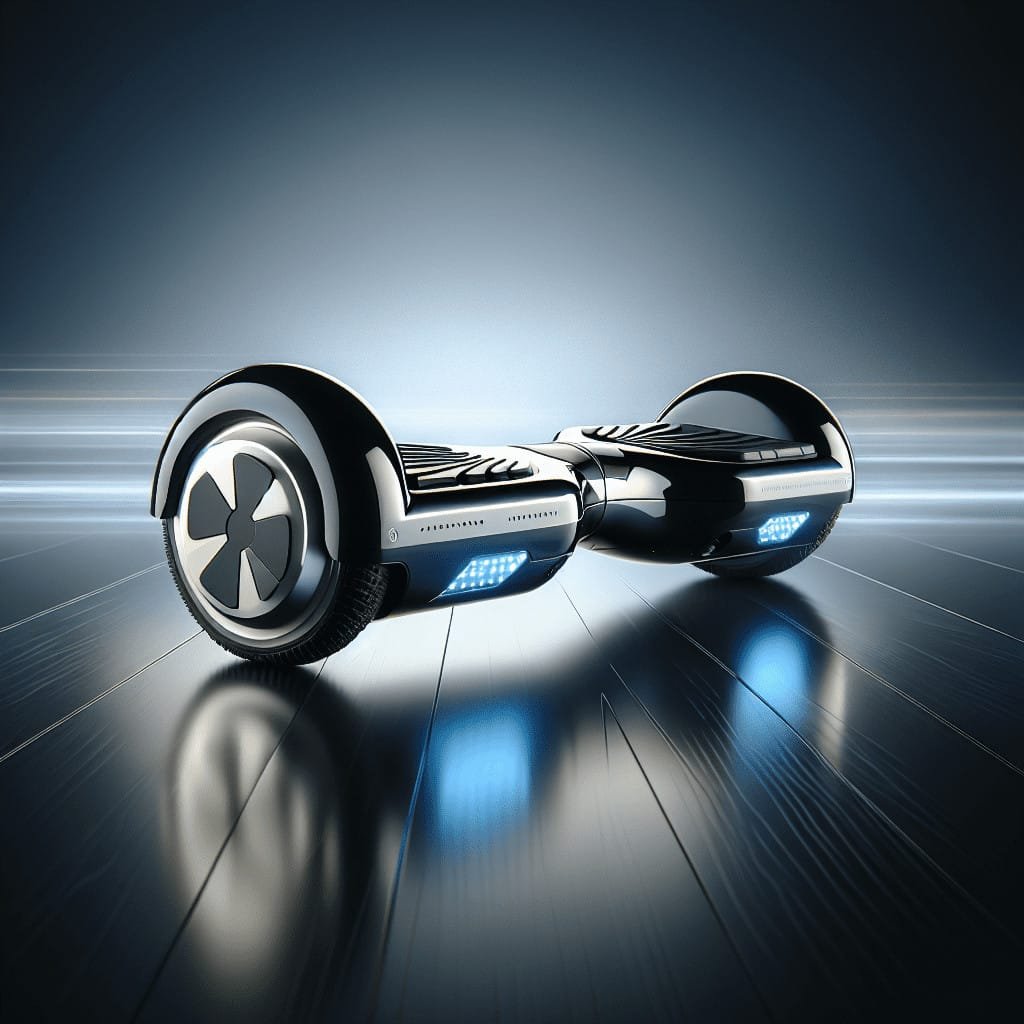
Most hoverboards come equipped with a battery indicator, which is a handy tool to keep an eye on your battery levels. The battery indicator is usually located near the charging port or on the hoverboard’s control panel. It provides a quick and convenient way to get an estimate of your battery’s remaining power.
To use the battery indicator, simply turn on your hoverboard and look for the corresponding icon or LED lights. These indicators typically display a series of bars or lights that represent the battery’s charge level. A full set of bars or all lights lit up indicates a fully charged battery, while fewer bars or lights suggest a lower charge.
When interpreting the battery levels, keep in mind that manufacturers may use different systems to represent the battery capacity. Some hoverboards use a simple bar graph, where each bar represents a certain percentage of battery power. Others may use a color-coded system, with green indicating a full charge and red indicating a low charge. Consult your hoverboard’s user manual for specific information about the battery indicator and its interpretation.

Monitoring Usage Time
Another effective way to gauge the battery life of your hoverboard is by monitoring your usage time. By tracking how long you’ve been riding, you can estimate how much battery power you’ve consumed and roughly determine how much is left.
To monitor your usage time, you can use a stopwatch, a timer, or even a smartphone app specifically designed for hoverboards. Before your ride, start the timer or app, and when you finish riding, stop the timer and record the duration. By keeping a log of your riding time and comparing it against the battery’s expected runtime, you can get a fair idea of your battery’s health and the remaining charge.
It’s important to note that the battery consumption can vary depending on factors such as terrain, rider weight, speed, and riding style. Keeping these variables in mind, you can better estimate how long your hoverboard’s battery is likely to last.
Using a Multimeter
If you want to get a more accurate measurement of your hoverboard’s battery life, you can use a multimeter. A multimeter is a versatile electrical tool that can measure voltage, among other things. By checking the battery’s voltage level, you can assess its current state of charge.
To use a multimeter, you’ll need to set it to the DC voltage measurement range and ensure it’s calibrated properly. With the hoverboard turned off, carefully connect the multimeter’s probes to the positive and negative terminals of the battery. The multimeter will display the voltage reading, which can be compared to the battery’s recommended voltage range.
It’s important to note that different hoverboard models may have different voltage specifications. Consult your user manual or the manufacturer’s guidelines to determine the appropriate voltage range for your specific hoverboard. If the voltage reading falls significantly below the recommended range, it may indicate a depleted or faulty battery that needs replacement.

Observing Performance Decline
One of the most noticeable signs that your hoverboard’s battery is not performing optimally is a decline in its overall performance. Pay attention to any changes in speed or acceleration, as well as reduced travel distance on a single charge. These performance decline indicators can offer valuable insights into the health and remaining lifespan of your battery.
If you notice that your hoverboard is slower than usual or takes longer to accelerate, it could be a sign of battery fatigue. Similarly, if you find that your hoverboard’s range has significantly decreased or you need to recharge it more frequently, it may suggest that your battery is nearing the end of its life.
Keep in mind that other factors, such as tire pressure or motor issues, can also affect performance. However, when coupled with other signs, a decline in performance can be a strong indication that your battery requires attention.
Considering Battery Age
The age of your hoverboard’s battery plays a crucial role in determining its overall lifespan and capacity. Batteries have a finite lifespan and can deteriorate over time, especially if not properly maintained or used frequently. Considering the battery’s age can help you anticipate potential issues and plan for replacements if necessary.
To estimate the battery lifespan, refer to the manufacturer’s specifications and recommended battery life expectancy. Additionally, take into account the number of charging cycles the battery has undergone, as each charge-discharge cycle gradually reduces the battery’s capacity. If your hoverboard has been extensively used for a prolonged period, it may be a good idea to evaluate the battery’s condition more carefully.
While each battery is unique, and various external factors can influence its longevity, keeping track of battery age is a useful consideration to ensure you’re aware of your hoverboard’s current and future battery needs.

Performing a Full Charge Test
Performing a full charge test is an effective way to assess your hoverboard’s battery life. By charging the battery to its maximum capacity and observing its performance, you can gain valuable insights into its health and capacity.
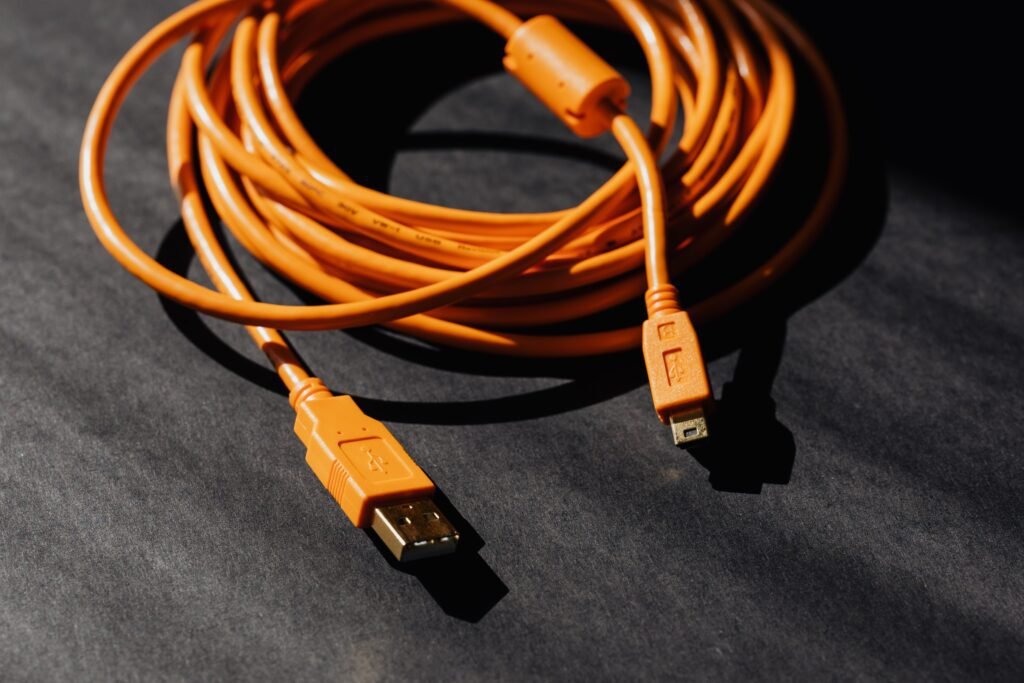
To perform a full charge test, make sure your hoverboard is completely powered off. Connect it to the charging cable and leave it to charge for the manufacturer-recommended duration. Once fully charged, disconnect the hoverboard from the charger and take it for a ride, paying close attention to its performance and duration.
During the test, observe how long the fully charged battery lasts before needing a recharge. If the battery’s runtime significantly deviates from the manufacturer’s specifications or shows signs of a rapid energy decline, it may indicate an issue with the battery. In such cases, it may be best to consult a professional for further guidance or consider replacing the battery altogether.
Checking Manufacturer Guidelines
When it comes to understanding your hoverboard’s battery life, it’s essential to check the manufacturer’s guidelines and recommendations. Manufacturers often provide specific information regarding battery health, maintenance, and estimated lifespan, ensuring you have accurate and reliable information about your hoverboard’s battery.
Review the hoverboard’s specifications provided by the manufacturer and pay attention to the battery-related details. These details may include the type of battery used, its voltage range, average lifespan, and recommended charging practices. By familiarizing yourself with this information, you can make informed decisions and take the necessary steps to optimize your battery’s performance.

Consulting the User Manual
If you’re unsure about any aspect of your hoverboard’s battery life or how to check it, consult the user manual. The user manual is an invaluable resource provided by the manufacturer, containing comprehensive information about the hoverboard, including details about the battery.
Locate the user manual that accompanies your hoverboard and refer to the section dedicated to the battery. This section should provide specific instructions on how to measure battery life, interpret battery indicators, and maintain battery health. By following the guidelines outlined in the user manual, you can ensure that you’re properly checking your hoverboard’s battery life and maximizing its potential.
Seeking Professional Help
If you’re still unsure about the battery life of your hoverboard or suspect a potential issue, it’s always a good idea to seek professional help. There are experts and technicians specializing in hoverboard maintenance and repairs who can provide accurate assessments and solutions for your specific situation.
A professional can perform advanced tests and diagnostics on your hoverboard’s battery to determine its health and remaining capacity accurately. They can also advise you on the best course of action, whether it’s replacing an aging battery, performing maintenance, or optimizing your charging habits. Don’t hesitate to reach out to professionals for expert opinions and assistance in ensuring your hoverboard’s battery is in optimal condition.

Maintaining Battery Health
Maintaining the health of your hoverboard’s battery is crucial for maximizing its lifespan and performance. By following a few simple practices, you can keep your battery in top shape and ensure it lasts for as long as possible.
To maintain battery health, avoid overcharging your hoverboard. Once the battery reaches full charge, unplug it from the charger promptly. Leaving the hoverboard plugged in for an extended period can lead to overcharging, which can negatively impact the battery’s capacity over time.
When charging your hoverboard, do so in optimal conditions. Choose a well-ventilated area with a stable power source. Avoid charging in extreme temperatures or exposing the hoverboard to direct sunlight. These conditions can result in battery damage or a shortened lifespan.
When you’re not using your hoverboard for an extended period, such as during the winter months, store it properly. Ideally, store the hoverboard in a cool, dry place, away from extreme temperatures and direct sunlight. It’s recommended to charge the battery to around 40-60% before storing it to maintain its overall health during the idle period.
By following these simple practices and being mindful of your hoverboard’s battery health, you can enhance its longevity and ensure reliable performance for countless rides to come.
In conclusion, checking the battery life of your hoverboard is crucial for maintaining a smooth and enjoyable riding experience. By using the battery indicator, monitoring usage time, utilizing a multimeter, observing performance decline, considering battery age, performing full charge tests, checking manufacturer guidelines, consulting the user manual, seeking professional help when needed, and maintaining battery health, you can ensure that your hoverboard’s battery is always ready to power your thrilling adventures.

