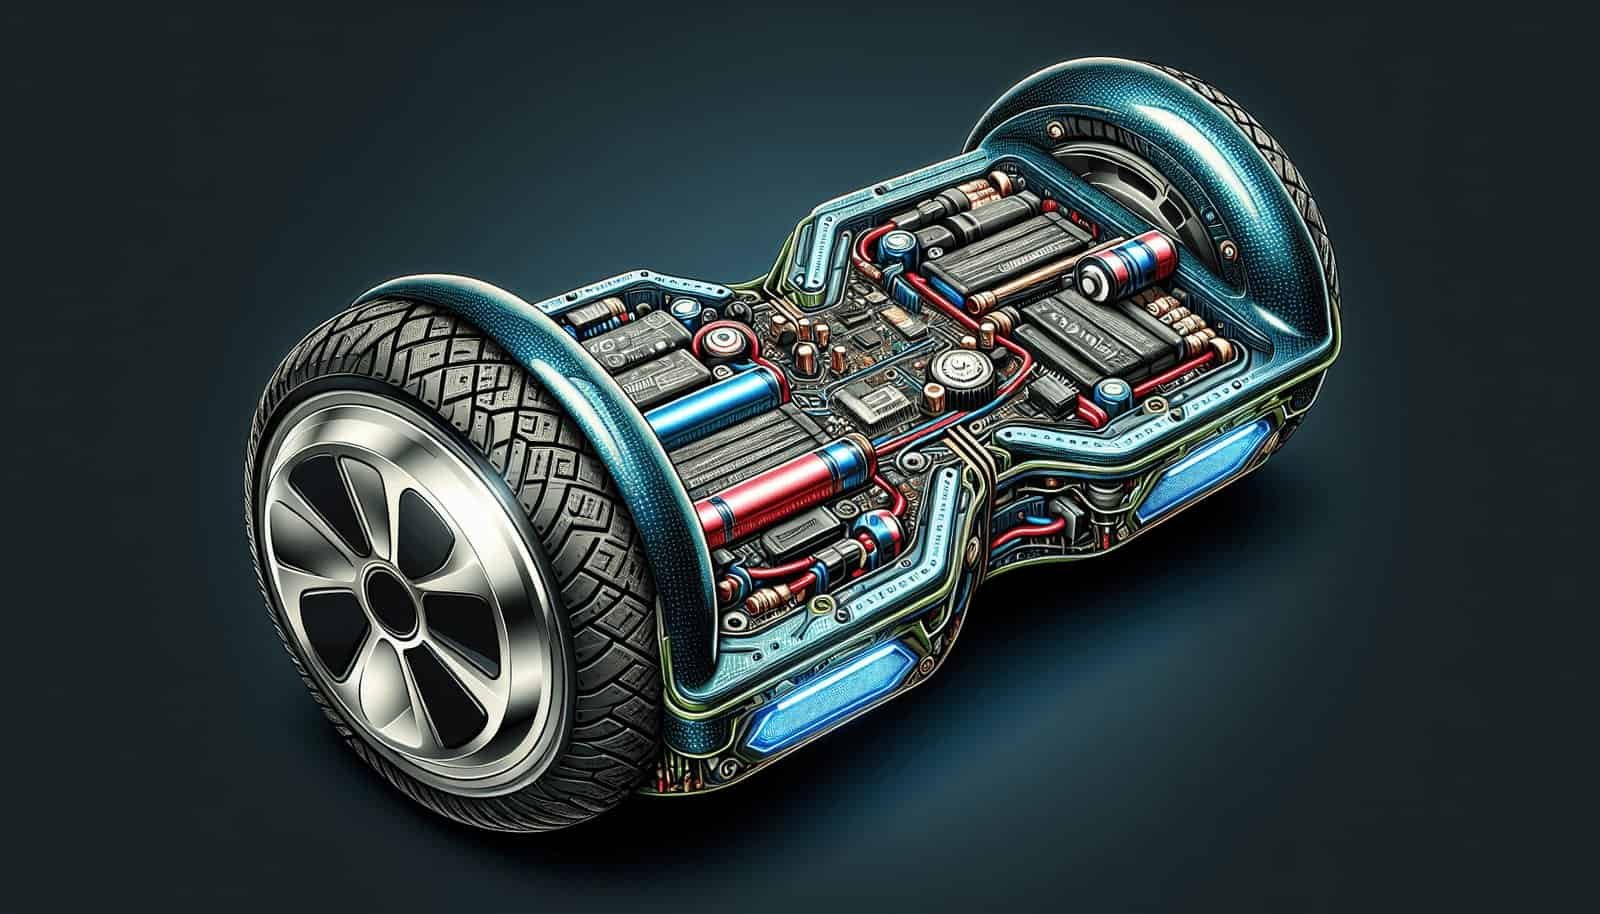
If you’ve recently purchased a hoverboard and are wondering how to check and replace the battery, you’ve come to the right place! With this informative guide, we’ll take you through the step-by-step process of ensuring your hoverboard’s battery is in top condition and guiding you on how to replace it if necessary. Whether you’re a beginner or an experienced rider, taking care of your hoverboard’s battery is essential for a smooth and enjoyable ride. So let’s break it down and get you back to riding in no time!
Identifying a Battery Issue
If you suspect that your hoverboard may have a battery issue, there are a few key steps you can take to confirm your suspicions. Checking for warning signs, testing the battery voltage, and inspecting for physical damage are all important initial steps in identifying a battery issue.
Check for warning signs
Firstly, be on the lookout for warning signs that could indicate a battery problem. These can include a decrease in the hoverboard’s speed and range, frequent sudden shutdowns, difficulty in charging the battery, or the hoverboard not turning on at all. If you notice any of these signs, it’s likely that your battery is experiencing issues.
Test the battery voltage
To further investigate the battery issue, you can use a multimeter to test the battery voltage. Start by fully charging your hoverboard, then disconnect the power supply and turn it off. Use the multimeter to test the voltage across the positive and negative terminals of the battery. If the voltage reading is significantly lower than the manufacturer’s specified voltage, it may indicate a battery problem.
Inspect for physical damage
Physical damage can also be a cause of battery issues. Carefully inspect the battery for any signs of leakage, swelling, or damage to the casing. Additionally, check the battery connectors for any loose or damaged wires. These physical signs can indicate a need for battery replacement.
Preparing for Battery Replacement
Once you have identified a battery issue and determined that replacement is necessary, there are a few steps you need to take to adequately prepare for the replacement process.
Gather necessary tools
Before you begin the battery replacement process, gather all the necessary tools. These can include a screwdriver, pliers, wire cutters, and electrical tape. Having these tools readily available will ensure a smooth replacement process.
Find a suitable replacement battery
Next, you will need to find a suitable replacement battery for your hoverboard. It is crucial to select a battery that is compatible with your specific hoverboard model. Refer to your hoverboard’s manual or consult with the manufacturer to ensure you choose the correct battery.
Turn off and unplug the hoverboard
Before starting the battery replacement process, make sure your hoverboard is turned off and unplugged from any power source. This step ensures your safety during the replacement process and prevents any unintended electrical mishaps.

Removing the Old Battery
Now that you are adequately prepared for the battery replacement, it’s time to remove the old battery from your hoverboard. Follow these steps carefully to avoid any damage or accidents.
Open the hoverboard casing
To access the battery, you’ll need to open the hoverboard casing. Remove any screws or fasteners that hold the casing in place. Be cautious and take your time during this step to avoid stripping or damaging the screws.
Disconnect the battery connectors
Once the casing is open, locate the battery connectors. These connectors are typically located near the battery terminals and are connected to the hoverboard’s internal electrical system. Carefully disconnect these connectors using pliers or your fingers. Take note of the connector types and their corresponding positions for ease of installation later.
Take out the old battery
With the connectors disconnected, you can now remove the old battery from your hoverboard. Gently lift the battery out of its compartment, being mindful of any wires or cables that may still be connected. Set the old battery aside for proper disposal or recycling.
Installing the New Battery
Now that the old battery has been successfully removed, it’s time to install the new battery into your hoverboard. Follow these steps to ensure a secure and proper installation.
Position the new battery correctly
Before connecting any wires, position the new battery correctly within the designated compartment of your hoverboard. Ensure that the battery is aligned with the battery terminals and fits snugly within the space.
Connect the battery connectors
Refer to the notes you made during the disconnection process and connect the battery wires to their corresponding connectors. Make sure they are securely fastened and properly aligned. Double-check each connection to avoid any loose or disconnected wires, which can cause functionality issues.
Secure the battery in place
Once all the connections have been made, secure the battery in place within the hoverboard’s compartment. Ensure that the battery sits securely and does not move or shift during use. This will prevent any damage to the wires or connectors.

Testing the New Battery
After the new battery has been installed, it’s essential to test its functionality before using your hoverboard. Perform these tests to ensure proper battery performance.
Perform a voltage check
Using a multimeter, once again test the voltage across the battery terminals. The reading should match or be very close to the manufacturer’s specified voltage. If the voltage is significantly lower, it may indicate a defective battery or improper installation.
Test the hoverboard functionality
Turn on your hoverboard and take it for a short test ride. Pay attention to any unusual behavior such as sudden shutdowns, decreased speed or range, or difficulty in maneuvering. These signs may indicate further issues with the battery or installation.
Ensure proper charging
Finally, plug in your hoverboard for charging and monitor the battery’s charging process. Make sure that the battery charges properly and holds a charge without any interruptions or abnormalities. This will confirm that the new battery is performing as expected.
Troubleshooting Battery Issues
If you encounter any issues or abnormalities during the testing process, here are a few troubleshooting steps you can take to address battery concerns.
Check for loose connections
Inspect all the battery connections and ensure they are securely fastened. Loose or disconnected wires can cause functionality problems. Reconnect any loose connections and test the hoverboard again.
Inspect the battery charger
If you suspect that the battery charger may be the issue, inspect it for any visible damage or signs of malfunction. Test the charger with a known working hoverboard or have it checked by a professional if necessary.
Seek professional assistance if necessary
If you are unable to resolve the battery issue or if you feel uncomfortable performing the replacement or troubleshooting process, it’s always best to seek professional assistance. They will have the expertise and resources needed to diagnose and fix any battery-related problems.

Maintaining Battery Life
To ensure the longevity and optimal performance of your hoverboard’s battery, it’s important to practice proper battery maintenance. Taking care of your battery will maximize its lifespan and keep your hoverboard running smoothly.
Avoid overcharging or undercharging
Overcharging or undercharging your battery can lead to decreased performance and a shortened lifespan. Follow the manufacturer’s instructions on charging times and avoid leaving your hoverboard plugged in for extended periods.
Store the hoverboard in optimal conditions
When not in use, store your hoverboard in a cool and dry place. Extreme temperatures or exposure to moisture can negatively impact the battery’s performance. Additionally, avoid storing the hoverboard with a fully depleted battery, as this can cause irreversible damage.
Perform regular battery maintenance
Regularly inspect and clean the battery connectors for any dirt or corrosion. Use a soft cloth or compressed air to remove any debris. Additionally, check the battery for any signs of damage or swelling and address any issues promptly.
Recycling Old Batteries
Proper disposal of old batteries is crucial for the environment. To responsibly recycle your old hoverboard battery, follow these steps:
Research local recycling options
Look for local recycling centers or programs that accept batteries for recycling. Research recycling guidelines and find out if there are any specific requirements for hoverboard batteries.
Ensure safe disposal of the old battery
Handle the old battery carefully and avoid any contact with bare skin. Place the battery in a sturdy, non-conductive container to prevent any leaks or accidents. Make sure to seal the container tightly before disposing of it according to local recycling guidelines.
Follow environmental guidelines
Always adhere to environmental guidelines to prevent any harm to the environment. Avoid throwing batteries in regular trash bins, as they can release harmful chemicals into the environment.

Safety Precautions
When working with batteries, it’s crucial to prioritize safety. These safety precautions will help ensure a safe battery replacement process:
Wear protective gear
Always wear appropriate protective gear, including gloves and safety glasses, when handling batteries. This will protect you from any potential chemical leaks or accidents.
Work in a well-ventilated area
Battery work can sometimes release potentially harmful fumes. Always work in a well-ventilated area to minimize any risks. If possible, conduct the battery replacement outdoors or in an open space.
Avoid short circuits
When working with batteries, avoid creating short circuits by keeping metallic objects away from the battery terminals. Accidental short circuits can cause sparks or explosions.
Conclusion
Checking and replacing the battery in your hoverboard is essential for optimal performance and longevity. By following the proper steps and safety precautions outlined in this article, you can easily perform this task. Regular maintenance and care, along with proper battery disposal, will ensure a prolonged battery life and overall lifespan for your hoverboard. Enjoy your hoverboarding adventures with a fully functional and reliable battery!


