
Are you a proud owner of an electric scooter? If so, you might have wondered about the process of checking and replacing the brake pads on your beloved two-wheeled companion. Well, fret not! In this article, we will guide you through the step-by-step process of ensuring your scooter’s brake pads are in optimal condition and show you how to replace them if needed. So, let’s get ready to dive into the world of electric scooter maintenance and ensure a safe and smooth ride every time you hit the road!
Overview
Understanding the importance of brake pads
Brake pads are a crucial component of your electric scooter’s braking system. They play a vital role in ensuring your safety by providing the necessary friction to stop your scooter effectively. Brake pads create friction against the scooter’s brake disc, converting the kinetic energy of the moving scooter into heat energy, causing it to slow down and eventually stop.
When to check and replace brake pads
Regularly checking and replacing your brake pads is essential for maintaining optimal braking performance and ensuring your safety on the road. As a general rule of thumb, it is recommended to inspect your brake pads every 500-700 miles or every three months, whichever comes first. However, the frequency may vary depending on your riding habits and the conditions you ride in.
Tools and materials needed for the job
Before you embark on checking and replacing your brake pads, make sure you have the necessary tools and materials. You will need a set of hex wrenches, a flat-head screwdriver, brake pad thickness gauge or caliper, new brake pads that are compatible with your scooter model, and some brake cleaner or rubbing alcohol for cleaning.
Preparation
Safety precautions
Before performing any maintenance on your electric scooter, including checking and replacing brake pads, it is crucial to prioritize safety. Ensure that you are wearing appropriate protective gear such as gloves and safety glasses to protect yourself from any potential harm. Additionally, make sure your scooter is on a level surface and turned off to prevent any accidental movements.
Getting the scooter ready for maintenance
To facilitate easy access to the brake pads, it is a good idea to prop up your scooter securely using a stable support such as a scooter stand or a sturdy box. This will elevate the scooter and provide you with better visibility and maneuverability when inspecting and replacing the brake pads.

Checking Brake Pads
Locating the brake pads
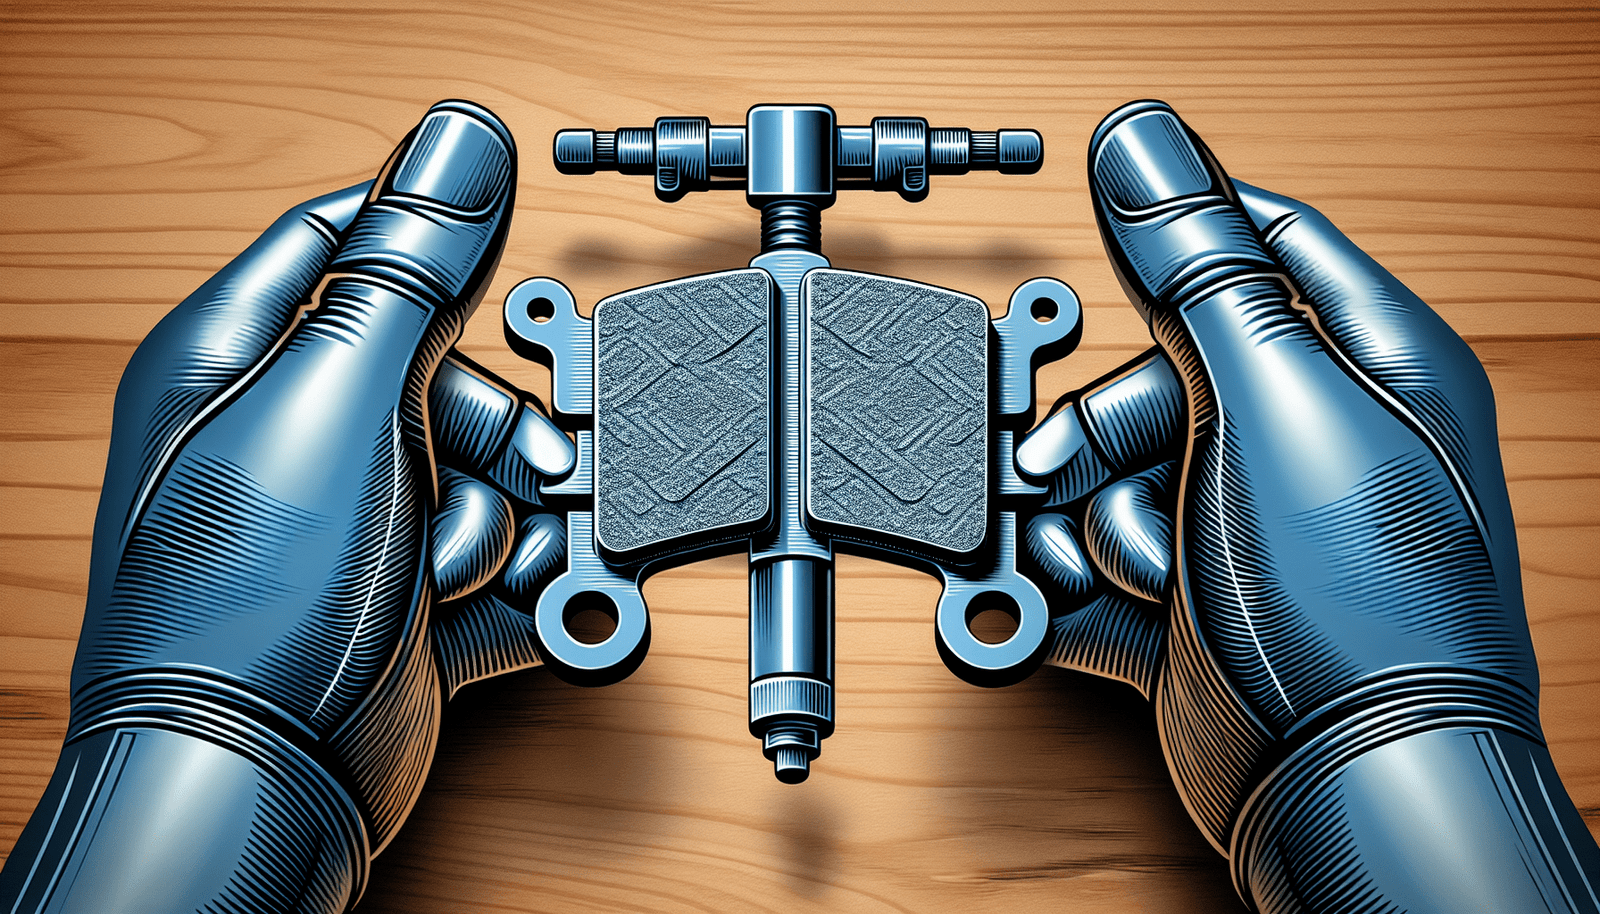
Start by locating the brake caliper, which is usually situated near the wheel rotor. The brake pads are housed inside the brake caliper and are positioned on each side of the rotor. In most electric scooter models, the caliper can be easily seen without the need for removing any additional parts.
Inspecting brake pad thickness
To determine whether your brake pads need replacement, check their thickness. A brake pad thickness gauge or caliper can be used to measure the remaining pad material. If the thickness is less than the manufacturer’s recommended minimum thickness, it is time to replace the brake pads.
Examining brake pad wear indicators
Some brake pads have wear indicators built into them. These are small metal clips that will make a noise or create a high-pitched squeal when the brake pads have worn down to a certain level. If you hear this noise while applying the brakes, it is a clear indication that it’s time to replace the brake pads.
Removing Brake Pads
Preparing the scooter for brake pad removal
Before you proceed with removing the brake pads, it is crucial to release any tension on the brake system. To do this, gently squeeze the brake lever a few times to separate the brake pads from the rotor. This will make it easier to remove the brake caliper and take out the old brake pads.
Removing the brake caliper
Once the tension is released, locate the bolts or screws that secure the brake caliper in place. Use the appropriate hex wrench to remove these bolts, allowing you to detach the caliper from its mounting bracket. Take care not to damage any brake lines or cables attached to the caliper during this process.
Taking out the old brake pads
With the brake caliper removed, the old brake pads should be easily accessible. Slide them out from their position within the caliper, paying attention to their orientation so that you can install the new brake pads correctly. Take this opportunity to clean the caliper and the surrounding area using brake cleaner or rubbing alcohol.

Installing New Brake Pads
Choosing the correct brake pads
When purchasing new brake pads, ensure that you select the right ones that are compatible with your scooter model. Check the specifications provided by the manufacturer or consult the user manual to ensure a proper fit. Installing the wrong brake pads may compromise your scooter’s braking performance and safety.
Preparing the new brake pads
Before inserting the new brake pads, it is advisable to apply a thin layer of high-temperature brake grease on the back of the pads. This will help reduce noise and promote even wear. It is essential to avoid getting any grease on the friction surface of the brake pads, as this can negatively impact braking performance.
Inserting the new brake pads and securing them
Place the new brake pads into the caliper, making sure they are aligned with the rotor. Gently push them into the caliper guides until they are fully seated. Once the new pads are in position, reattach the caliper to its mounting bracket using the bolts or screws that were removed earlier. Ensure that the caliper is securely fastened without any loose fittings.
Caliper Reinstallation
Cleaning the brake caliper
Before reinstalling the caliper, take a moment to clean it and remove any dirt or debris that may have accumulated. This will help maintain proper functioning and prolong the lifespan of the brake caliper. Use a clean cloth or brake cleaner to wipe away any contaminants, paying close attention to the caliper pistons and slider pins.
Reattaching the brake caliper
Align the brake caliper with the mounting bracket and carefully slide it back into place. Make sure the bolt holes on the caliper align with the corresponding holes on the bracket. Insert the bolts or screws and tighten them securely using the appropriate hex wrench. Take care not to overtighten, as this can damage the threads or strip the bolts.
Ensuring proper caliper alignment
Once the brake caliper is reinstalled, double-check its alignment with the rotor. The caliper should be centered and positioned symmetrically with the rotor. If you notice any misalignment, adjust the caliper by loosening the mounting bolts slightly and repositioning it until it is properly aligned.

Brake Pad Bedding
Understanding the importance of brake pad bedding
After installing new brake pads, it is crucial to perform the brake pad bedding procedure. Brake pad bedding involves gradually transferring a layer of friction material onto the rotor surface, ensuring optimal braking performance and minimizing noise and vibration. Properly bedded brake pads result in smoother stops and improved overall braking efficiency.
Performing the bedding process
To bed your new brake pads, find a safe, open area with minimal traffic. Begin by gradually increasing your scooter’s speed to about 15-20 mph. Apply the brakes with medium force, reducing your speed to about 10 mph before releasing them completely. Repeat this process several times, allowing the brakes to cool between each application. This will help evenly distribute the friction material and establish an effective braking surface.
Final Checks and Adjustments
Double-checking brake pad installation
Once the brake pads have been bedded, take a moment to verify that they are correctly installed. Ensure that the pads are securely seated within the caliper guides and aligned with the rotor. Check for any signs of rubbing or misalignment, and make any necessary adjustments to ensure proper fit and performance.
Testing the brakes
Before hitting the road, it is crucial to test your scooter’s brakes to ensure they are functioning effectively. Start by slowly applying the brakes to test their responsiveness and stopping power. Gradually increase your speed and perform more aggressive braking maneuvers to evaluate the brakes’ performance under different conditions. If you notice any issues or abnormalities, further inspection and adjustment may be necessary.
Making any necessary adjustments
If you encounter any issues during your brake testing, such as excessive noise, weak braking, or a spongy feeling in the brake lever, it may indicate the need for further adjustments. Check for proper caliper alignment, ensure the brake pads are bedded correctly, and inspect for any potential air in the brake lines. If problems persist, it is advisable to seek professional assistance to address the issue promptly.

Maintenance Tips
Regular inspection and replacement intervals
To maintain optimal brake performance, it is crucial to regularly inspect your brake pads for wear and replace them as needed. Follow the manufacturer’s guidelines regarding inspection intervals, but keep in mind that your riding habits and environmental conditions may require more frequent checks. Always prioritize safety and never delay brake pad replacement if they are worn beyond their recommended thickness.
Proper cleaning and lubrication
In addition to regular inspections and replacement, proper cleaning and lubrication of the brake system are vital for its longevity and performance. Periodically clean the brake caliper and rotor with brake cleaner or rubbing alcohol to remove any dirt or debris that can adversely affect braking. Apply a high-temperature brake grease to the pad backs and caliper sliders to promote smooth operation and reduce noise.
Conclusion
Importance of properly maintained brake pads
Ensuring that your electric scooter’s brake pads are in good condition and properly maintained is crucial for your safety on the road. The brake pads play a significant role in stopping your scooter effectively, providing you with reliable braking performance when you need it the most. Regularly checking and replacing brake pads, as well as performing routine maintenance tasks, will help protect you and others while enjoying your scooter rides.
Enjoying safe and reliable scooter rides
By following the steps outlined in this article and incorporating proper maintenance practices into your scooter care routine, you can enjoy safe and worry-free rides. Regularly checking your brake pads, replacing them as needed, and maintaining a well-functioning braking system will provide you with peace of mind and ensure that your scooter’s stopping power is optimized. Stay safe and enjoy your electric scooter rides to the fullest!